
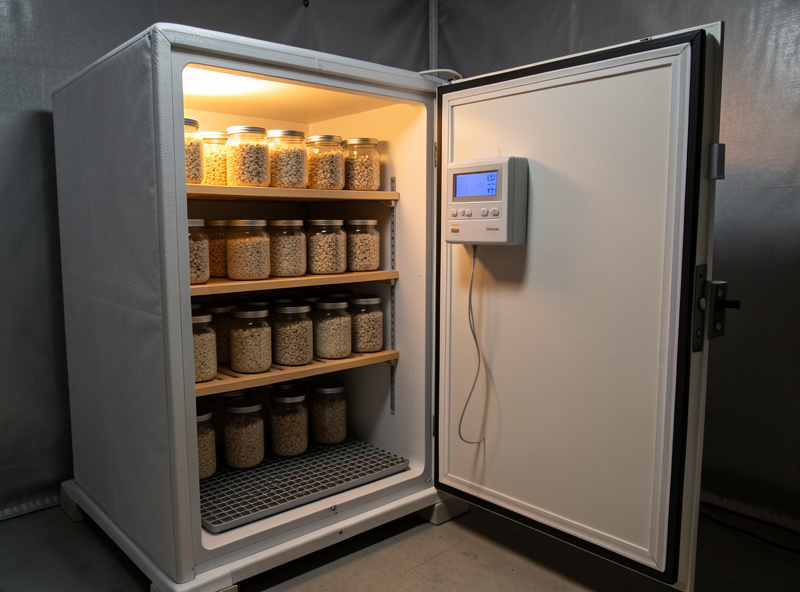
A DIY incubation chamber holds colonizing grain at a dead-stable temperature using two cheap parts: a seedling heat mat and a thermostat controller. Set the probe to about 78°F (26°C) and the controller cuts power the instant the chamber hits target, holding it within a degree or two all day. That stability is what gets grain fully colonized before contamination can take hold — the single biggest lever on your success rate.
Colonization is where most home grows are won or lost, and temperature is the variable most growers ignore. A cold garage stalls mycelium; a fluctuating windowsill swings it warm and cold and stresses it. The fix is a simple, dead-stable box built from a heat mat, a thermostat, and an insulated enclosure. Here is exactly how I build mine and what to set it to.
Why Incubation Temperature Matters
Mycelium colonizes fastest and most reliably in a narrow warm band — for most gourmet species, roughly 75–80°F (24–27°C) held steady. In that range the mycelium outruns contaminants to the food; too cold and it crawls, giving mold and bacteria time to establish, while too hot — above about 86°F (30°C) — favors thermophilic bacteria and can outright stress or kill the culture. The goal is not just warmth but stability: a steady 78°F beats a swing between 70 and 85 every time.
This is why incubation is its own build in the DIY lab sequence rather than something you improvise. Reliable colonization protects every step downstream — the cleanest grain spawn work is wasted if the jars then sit in a cold, swinging room. A small, stable incubator is the difference between 9-in-10 jars colonizing clean and losing half of them.
What You Are Building
The build is three parts: a heat source (a seedling heat mat), a controller that switches that heat on and off to hold a setpoint (a plug-in thermostat with a probe), and an insulated enclosure to hold the warmth (a tote, a cabinet, or a foam cooler). The heat mat warms the box, the thermostat reads the inside temperature and kills power the moment it reaches target, and the insulation keeps the heat from leaking so the mat is not fighting the room.
It is the same control logic as the humidity side of a fruiting chamber — a sensor, a setpoint, and a switched outlet — just pointed at temperature instead of humidity. Everything plugs into standard outlets, so there is no mains wiring and no risk. For larger or off-grid setups, the heat mat is a modest, steady load that sizes easily; I covered the power math for a remote lab in off-grid lab power.
The Heat Mat: Sizing and Placement
Use a seedling heat mat sized to your enclosure — it should warm the box a few degrees above room temperature, which the thermostat then trims to exact target. A standard seedling mat puts out gentle, even heat designed exactly for this kind of low-temperature biological warming, which is why it beats a space heater or lamp that overshoots and creates hot spots. Match a bigger mat to a bigger cabinet so it can keep up on a cold day.
Placement matters: put the mat on the bottom or one wall, and crucially, do not sit your jars directly on the mat. A mat in direct contact can heat the base of a jar well past the air setpoint, cooking the grain at the bottom while the chamber air reads fine. I stand jars on a rack or a folded towel above the mat so they warm by the chamber’s air, not by conduction. Even, ambient warmth is the goal, not a hot plate.
The Thermostat: The Part That Makes It Stable
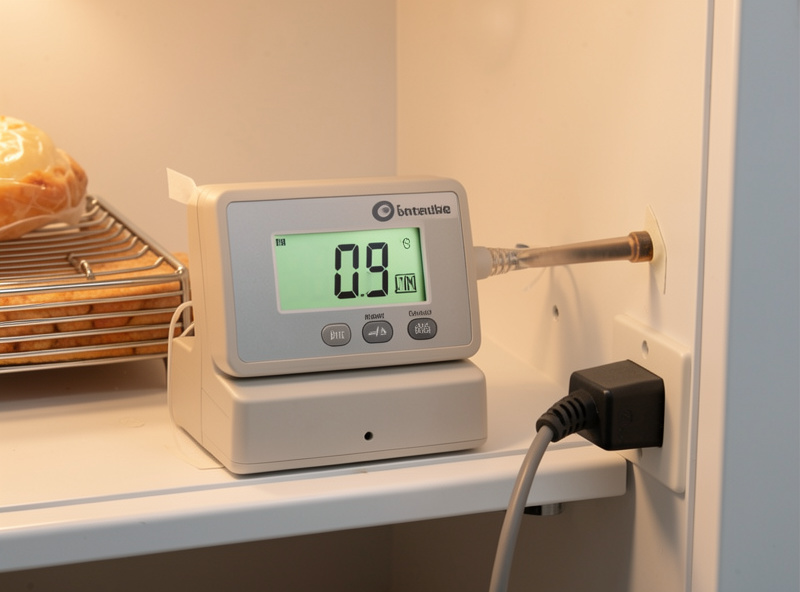
The thermostat controller is what turns a heat mat into a dead-stable incubator — it reads the chamber with a probe and switches the mat off at your high setpoint and back on at your low one. A plug-in temperature controller (the type sold for homebrew, terrariums, and seedlings) does this out of the box: plug the heat mat into it, drop the probe inside, set your range, and walk away. Without it, a heat mat just climbs until something melts; with it, the box holds a tight band.
Set a narrow window — for example, kick the mat on below 77°F and off above 79°F — so the chamber hovers around 78°F. Place the probe in the chamber air near the jars, not taped to the mat itself, or it will read the heater and never let the air come up to temperature. Mid-chamber, shielded from direct mat contact, gives the truest reading. This is the same sensor-and-setpoint discipline that runs the humidity controller and the smart sensors I use to log climate.
The Enclosure: Insulation and Dead-Stable Temps
The insulation is what makes the temperature “dead-stable” — an insulated box holds heat so steadily that the mat cycles gently instead of constantly fighting the room. A foam cooler, an insulated cabinet, or even a tote wrapped in foam board all work; the better the insulation, the tighter the band and the less the mat has to run. A bare cardboard box in a cold room will swing far more than an insulated one, no matter how good the thermostat.
Keep the chamber dark, since colonizing mycelium does not need light and darkness discourages premature pinning, and keep it clean — wipeable surfaces, no bare wood or fabric harboring mold. Leave a little passive air exchange (jars breathe through their filter lids, and a touch of fresh air prevents stale buildup), but not so much that you bleed all the heat. The same clean-process instinct I bring to every build applies here: a warm, humid, dark box is a paradise for contamination too, so design it to wipe down between batches.
Colonization Temperatures by Species
Most gourmet species sit comfortably around that 75–80°F band, but a few have their own preferences worth knowing. Oyster species are forgiving and colonize fast across a wide range. Lion’s mane and the wood-lovers like the mid-to-high 70s. Some species, like enoki and nameko, are cool-weather growers that colonize fine warm but fruit cold — for those, incubation is warm and the temperature drop comes later, in the fruiting chamber.
The practical rule: incubate warm and steady, then trigger fruiting with the species-appropriate conditions afterward. A single incubation setpoint of around 78°F serves nearly every gourmet and functional species I grow, from oyster to lion’s mane to reishi. Run the cool-fruiting species through the same warm incubation, then move them to a cold-capable chamber to pin. One stable incubator covers the whole shelf.
Watching for Trouble During Colonization
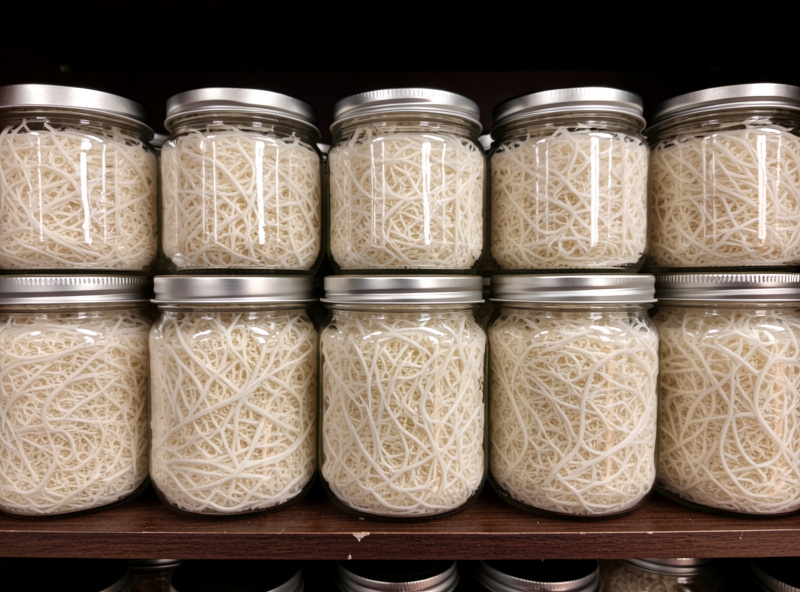
A stable incubator makes problems easy to spot because healthy colonization looks consistent — clean, white, advancing mycelium. Check jars without opening them: look for even white growth spreading from each inoculation point, and learn to recognize the warning signs early. Green or blue-green patches are Trichoderma, wispy grey-on-grey is cobweb mold, and sour-smelling wet patches are bacterial. Reading healthy versus contaminated growth is the skill that pairs with the build.
If you do see contamination creep in across a whole batch, the incubator’s stability actually helps you diagnose it — when temperature is ruled out as a variable, you can trace the problem back to sterilization or transfer technique instead. That is the quiet value of a dead-stable box: it removes one variable so completely that everything else becomes easier to troubleshoot. Build it once, set it to 78°F, and let it do its job batch after batch.
Frequently Asked Questions
What temperature should a mushroom incubation chamber be?
Most gourmet species colonize best at a steady 75 to 80°F (24 to 27°C), with 78°F a safe all-round setpoint. Stability matters more than the exact number: a steady 78°F beats swinging between 70 and 85. Stay below about 86°F (30°C), where thermophilic bacteria take over and can stress the culture.
What do I need to build a DIY incubation chamber?
Three parts: a seedling heat mat, a plug-in thermostat controller with a probe, and an insulated enclosure like a foam cooler or cabinet. The mat warms the box, the thermostat holds the setpoint by switching the mat on and off, and the insulation keeps the temperature dead-stable.
Can I put grain jars directly on the heat mat?
No. Direct contact can heat the base of a jar well past the air setpoint and cook the grain at the bottom while the chamber reads fine. Stand jars on a rack or folded towel above the mat so they warm by the chamber air, and keep the thermostat probe in the air, not on the mat.
Why does incubation temperature stability matter so much?
Mycelium needs to outrun contaminants to the food, and it does that fastest in a steady warm band. Cold stalls it and gives mold time to establish; swings stress it. A dead-stable incubator at 78°F can take you from losing half your jars to colonizing nine in ten clean.
Where should the thermostat probe go in the chamber?
Place the probe in the chamber air near the jars, mid-box and shielded from direct contact with the heat mat. If it touches the mat it reads the heater and shuts off before the air reaches temperature. A true air reading is what lets the controller hold the band you actually want.