
Grain spawn culture work is the propagation layer of mushroom growing — the sterile chain that turns one clean culture into ten or more jars of colonized grain that inoculate every fruiting block you will ever run. Get this layer right and the fruiting almost takes care of itself; get it wrong and you lose the batch before a single pin forms.
I have run this whole pipeline in my own grow room for years — agar plates poured on the flow hood, liquid culture spinning on a stir plate, rye and millet sterilized in a stovetop pressure canner, and grain-to-grain transfers expanding one good jar into ten. This guide is the map of that chain: what each link does, where home growers actually lose batches, and how the pieces feed each other. Almost nobody loses a grow at fruiting. They lose it at grain or at the transfer, and they never figure out why because they treated the culture lab as an afterthought.
What grain spawn and culture work actually are
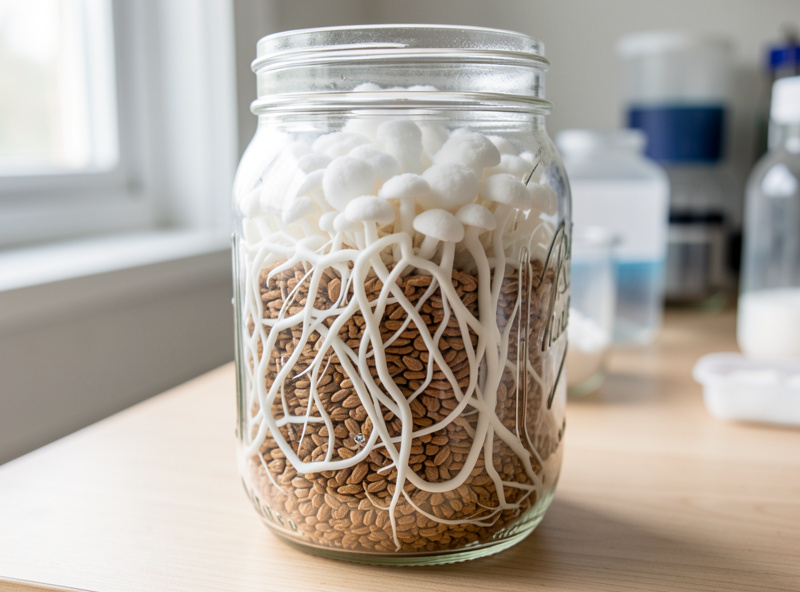
Grain spawn is cooked, hydrated, sterilized cereal grain — rye, millet, wheat berries, milo — fully colonized by mushroom mycelium, used as the nutrient-dense carrier that inoculates bulk substrate. Culture work is everything upstream of it: the agar, liquid culture, and transfers that produce the clean genetics you load into that grain.
The mental model I teach every grower I help is a relay. A culture — on agar, in a liquid culture jar, or as a tissue clone — is the genetics. Grain spawn is the multiplier: it takes that small clean start and turns it into a large volume of vigorous mycelium with the energy reserves to race through a fruiting block before contaminants wake up. Bulk substrate is the bulk food that produces the actual harvest. Each handoff is a chance for a contaminant to get in, and the discipline that prevents that is the same clean-process instinct that protects the sourdough starter on my kitchen counter and the salami losing weight in my curing chamber — four different fermentations of patience under one roof.
The full sterile chain: agar to harvest
The propagation chain runs in one direction: spore or clone → agar → liquid culture or grain spawn → grain-to-grain expansion → bulk substrate → fruiting. Each step trades a little sterility risk for a lot more volume, and the entire point of the culture lab is to keep the genetics clean while it multiplies roughly tenfold at each stage.
Here is how the links connect, and the dedicated guide for each one in this cluster:
- Agar plates are where you clean up genetics, isolate from contamination, and select vigorous rhizomorphic growth. My agar plate technique guide covers pouring, transferring, and cleaning up a culture, and cloning a mushroom by tissue culture walks through capturing a strain you want to keep.
- Liquid culture (LC) is the fast way to expand clean genetics into a syringe of mycelium you can shoot straight into grain. See the liquid culture making guide for the recipe and stir-plate workflow, and liquid culture vs spore syringe for why LC colonizes faster.
- Grain spawn is the engine. Start with grain spawn preparation for rye and millet — hydration and jar loading — then sterilize the grain spawn properly in a pressure canner.
- Grain-to-grain (G2G) is how one colonized jar becomes ten. The grain-to-grain transfer guide covers ratios, timing, and the contamination risk that comes with opening jars.
- Long-term storage keeps your best genetics alive for years. The culture library and slant guide covers agar slants and a proper culture library.
- Sterile technique is the discipline that holds the whole chain together — read the sterile technique in mushroom growing guide before you touch any of the above.
The propagation methods compared
There is no single “best” way to start a culture — each method earns its place at a different point in the chain. Spores give you genetic variety, agar gives you cleanup and selection, liquid culture gives you speed, and grain-to-grain gives you raw volume. The sterility demand rises with every step you take away from a sealed plate.
| Method | What it is for | Sterility demand | Typical time to usable | Best tool |
|---|---|---|---|---|
| Spore syringe / print | New genetics, variety, starting from scratch | Moderate | Slowest — multiple generations needed | Still-air box |
| Agar plate | Cleanup, isolation, strain selection | High | 1-2 weeks per transfer | Flow hood |
| Liquid culture | Fast bulk expansion of clean genetics | High | 5-10 days to shootable | Still-air box + stir plate |
| Grain-to-grain | Volume — turning one jar into many | Very high (open grain) | 7-14 days to full colonization | Flow hood |
| Tissue clone | Preserving a fruit you already grew | High | 1-2 weeks on agar | Flow hood |
Why grain is the engine of the lab
Grain spawn works because cereal grains are nutrient-dense, individually mobile, and easy to shake into even distribution — each kernel becomes an inoculation point. When you break up a colonized jar and mix it into bulk substrate, you are scattering thousands of running mycelium fronts instead of one, which is why a healthy spawn-to-bulk ratio colonizes fast enough to outrun mold.
Not every grain behaves the same on the bench. Rye is my default workhorse — it hydrates predictably, holds its shape, and resists clumping. Millet packs far more kernels per jar, which means more inoculation points and faster colonization, but it is fiddly to hydrate without going mushy. Whole oats and wheat berries (WBS) sit in between. The right choice depends on whether you are making spawn to expand (millet’s kernel count wins) or spawn to inoculate bulk (rye’s forgiveness wins).
| Grain | Kernels per jar | Hydration behavior | Best use |
|---|---|---|---|
| Rye berries | Moderate | Forgiving, holds shape | All-around workhorse, inoculating bulk |
| Millet | Very high | Easy to overhydrate | Maximum inoculation points, G2G expansion |
| Wheat berries (WBS) | Moderate | Forgiving, slightly sticky | Cheap, widely available alternative to rye |
| Whole oats | High | Can get gummy | Budget option, watch hydration closely |
Whichever you run, the preparation matters more than the variety. I cover the full hydration-and-jar-loading routine in the grain spawn preparation guide, and once jars are loaded they go straight into the canner per the grain sterilization guide. Field capacity is the whole game — drained grain that is hydrated through but not wet on the surface. If you can squeeze a handful and no water runs out but the kernels glisten, you are close. The same field-capacity logic that governs substrate moisture applies to grain.
The culture work that feeds the grain
You can shoot a spore syringe straight into grain, but you should not make a habit of it. Spores carry genetic variability and any contaminant that rode along on the print, and a contaminated grain jar is invisible for days before it blooms. Cleaning genetics on agar first, then expanding through liquid culture, is how you stack the odds in your favor before you commit a flat of jars.
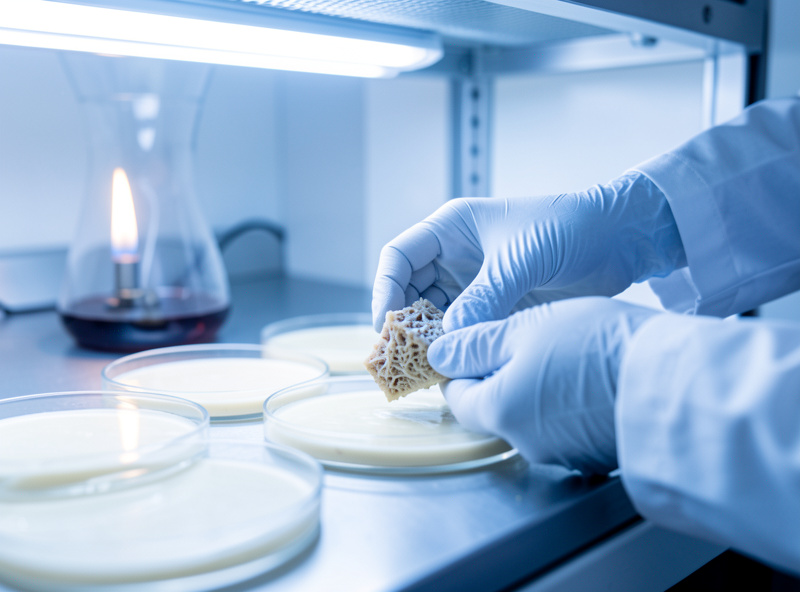
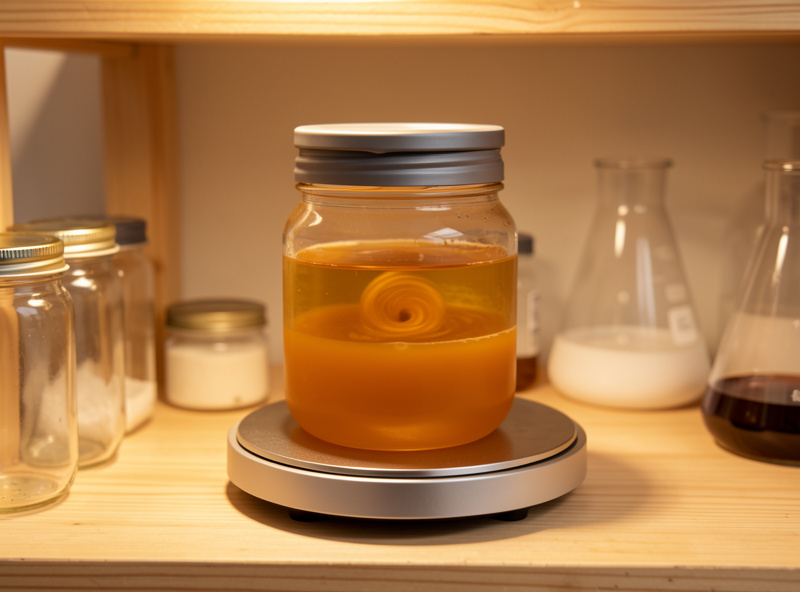
Agar is the diagnostic bench of the lab. On a plate you can see contamination — a creeping green of Trichoderma, the gray wisp of cobweb mold, the wet sheen of a bacterial colony — and cut a clean wedge away from it to a fresh plate. Liquid culture is the accelerator: a sterilized sugar broth, inoculated from a clean wedge or a few drops, spun on a stir plate until it is a cloudy cloud of mycelium fragments you can draw into a syringe. For the recipe and the stir-plate routine, the liquid culture guide is the deep dive, and for capturing a fruit you loved, tissue cloning is the move. When you find genetics worth keeping, lock them down in a culture library on slants so a single contamination event never costs you a strain.
Sterilization versus pasteurization — the dividing line
Grain and supplemented sawdust must be sterilized — held at 15 PSI in a pressure canner (roughly 90 minutes for grain, longer for dense sawdust blocks) to kill every spore, because their high nutrition would otherwise feed contaminants as fast as your mycelium. Bulk substrates like straw and CVG are only pasteurized — held around 65-75°C — which knocks back competitors while leaving beneficial microbes to help your spawn win.
The line between the two is nutrition. Anything rich enough to grow your mushroom fast is rich enough to grow mold faster, so it gets the full sterilization treatment. Anything lean enough to lean on competitive colonization instead gets pasteurized. I lay out the canner side in the pressure cooker sterilization guide and the bulk side in straw pasteurization methods and cold vs hot pasteurization. Confusing the two is one of the most common reasons a first grow dies — pasteurized grain is a petri dish for bacteria.
Where home growers actually lose the batch
In my experience the kill point is almost never the fruiting chamber — it is the grain jar or the transfer. The two highest-risk moments in the entire chain are opening a sterilized grain jar to inoculate it and breaking a colonized jar to transfer it, because both expose nutrient-dense, fully cooked grain to open air. That is exactly where a flow hood earns its money.
Learning to read what went wrong is a first-class skill, not a footnote. Green Trichoderma is the most common killer and is unsalvageable; cobweb mold is grayer, faster, and sometimes treatable; bacterial contamination (often “wet spot” or blotch) smells sour and turns grain slimy. My contamination guide is the visual reference, with bacterial contamination and bulk-stage contamination broken out separately. The honest truth is that everyone greens a jar eventually — I have killed plenty — and the growers who improve are the ones who diagnose the failure instead of just tossing the jar and guessing.
Building a culture lab without overspending
You do not need a cleanroom to run clean cultures. A still-air box (SAB) — a clear tote with two arm holes — is enough for the vast majority of grain work and transfers, and it costs almost nothing to build. A laminar flow hood is the upgrade that makes agar work and large jar runs nearly contamination-proof, but it is a want, not a need, until you are running volume.
The core kit is modest: a pressure canner, a case of wide-mouth quart jars with modified lids, micropore tape, 70% isopropyl, a torch or alcohol lamp for flame-sterile transfers, and agar plus a clean dish to pour plates. As an Amazon Associate I earn from qualifying purchases. If you are assembling this from scratch, a stovetop pressure canner is the one tool I would not cheap out on, paired with a flat of wide-mouth quart mason jars and a roll of micropore tape for gas exchange. For plate work, pre-made MEA agar plates save you a sterilization cycle while you learn. The full decision on whether you need a hood is in still air box vs flow hood, and if you go the hood route, my DIY laminar flow hood build guide walks it through.
A realistic first-cycle workflow
Tied together, a first culture-lab cycle looks like this: clean your genetics on agar (or skip to a trusted liquid culture), expand into one or two grain jars, let them fully colonize, then either G2G into more jars or break straight to bulk. The whole loop runs about three to six weeks before you are spawning to bulk, and the bottleneck is always full colonization — never rush an under-colonized jar to bulk.
From there the spawn meets your substrate. How much spawn to how much bulk is a real decision — too little and mold wins the race — so read the spawn-to-bulk ratio guide before you mix. Match the substrate to the species using the substrate guide: CVG for oysters, Masters Mix or supplemented sawdust for lion’s mane and king oyster, and a monotub or bulk substrate setup to fruit it. Every one of those downstream wins depends on the spawn being clean — which loops right back to the culture lab.
Reading healthy colonization
Healthy grain colonization looks like bright white, slightly fuzzy-to-ropey mycelium advancing as a clean even front across the kernels, with no off-colors and only a faint fresh-mushroom or fresh-bread smell. The growth pattern you want is rhizomorphic — stringy, rope-like strands that race outward — rather than flat, cottony tomentose growth, because rhizomorphic mycelium colonizes grain faster and transfers more aggressively.
The smell test is underrated. I crack a colonizing jar near my nose only briefly and only when I already suspect trouble, but a sour, sharp, or anything-but-clean smell is a bacterial red flag long before color tells you. Color matters too: any green is Trichoderma and the jar is done; gray cobwebby growth climbing the glass is cobweb mold; a wet, slimy, yellowish or grayish zone with a sour note is bacterial. Pure white that is sometimes ropey, sometimes fluffy, but always white and always advancing is the only thing you keep. When in doubt, set the jar aside in isolation for a day or two and watch — contamination announces itself, healthy mycelium just keeps marching.
Common mistakes that waste a flat of jars
Most failed grain runs trace back to four avoidable mistakes, and none of them happen at fruiting. Overhydrated grain that pools water at the jar bottom is the number-one killer because that free water breeds bacteria; jars packed too full lose the air exchange the mycelium needs; shaking at the wrong time either smears contamination around or snaps a fragile early network; and leaving a fully colonized jar sitting for weeks lets it stall into a hard, tired overlay that transfers poorly.
The fixes are simple once you know them. Drain grain hard to field capacity and tip jars to check for pooled water before they go in the canner. Fill jars no more than about two-thirds and leave headspace. Shake only once the mycelium has a confident foothold — roughly 20-30% colonized — so you spread vigorous growth without tearing a delicate young network, and never shake a jar you suspect is contaminated, because you will only distribute the problem. And use colonized spawn while it is fresh and lively; if you must hold it, refrigeration slows it down, but the best insurance against losing a strain entirely is a proper culture library. Every one of these is a habit, not a talent — get the habits right and your contamination rate falls off a cliff.
Frequently Asked Questions
Do I need a flow hood to make grain spawn?
No. A still-air box handles most grain work and transfers fine for a home grower. A laminar flow hood mainly pays off for agar work and high-volume jar runs where open grain is exposed for longer. Start with a SAB and upgrade only when contamination from volume becomes the bottleneck.
Why does grain have to be sterilized but straw only pasteurized?
Grain is nutrient-dense, so any surviving contaminant spore feeds and outpaces your mycelium. It must be fully sterilized at 15 PSI in a pressure canner. Straw and CVG are lean enough that pasteurization at 65-75C knocks back competitors while leaving your spawn the advantage.
What is field capacity for grain spawn?
Field capacity is grain that is hydrated all the way through but has no free water on the surface. Squeeze a handful and no water should run out, but the kernels should glisten. Too wet breeds bacteria; too dry colonizes slowly. It is the single most important variable in grain prep.
Which grain is best for a beginner: rye or millet?
Rye is the more forgiving choice for a first run because it hydrates predictably and resists clumping. Millet packs far more kernels per jar for faster colonization and grain-to-grain expansion, but it overhydrates easily. Most growers start on rye and add millet once their hydration is dialed in.
Where do most home grows actually fail?
Almost never at fruiting. The batch is usually lost at the grain stage or during a transfer, when nutrient-dense cooked grain is exposed to open air. Diagnosing the failure with a contamination guide, rather than just tossing the jar, is what separates growers who improve from those who stay stuck.
How long does the full culture-lab cycle take?
From cleaning genetics on agar to spawning bulk substrate, a realistic first cycle runs about three to six weeks. The main bottleneck is full grain colonization, which should never be rushed. Under-colonized grain taken to bulk gives contaminants a head start and frequently loses the grow.