
Growing pearl oyster mushrooms is the single best place to start in home cultivation. Pearl oyster (Pleurotus ostreatus) and its near-identical blue strain colonize pasteurized straw or CVG in 10 to 14 days, fruit in a normal room-temperature range of 10–20°C, and return roughly 0.75 to 1 lb of mushrooms per pound of dry substrate across two to three flushes.
These two are the workhorses on my shelf — the species I reach for when I want a reliable harvest with no drama. This guide covers exactly how I run blue and pearl from spawn to plate, where they differ (less than you would think), and the few things that actually trip people up. If you have not read the broader oyster mushroom growing guide, start there for the species overview; this is the deep-dive on the two most beginner-friendly types.
Blue vs Pearl Oyster — Are They Actually Different?
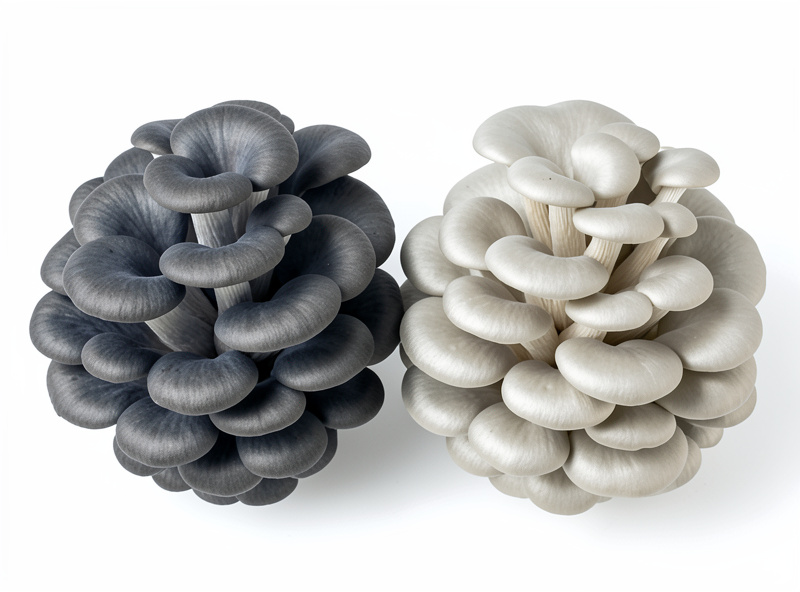
Blue and pearl oyster are both strains of the same species, Pleurotus ostreatus, and they grow almost identically. The practical difference is color and temperature preference: blue strains pin a darker grey-blue in cooler temperatures (often fruiting well below 15°C) and fade to tan as they mature, while pearl tends toward a lighter grey-tan and tolerates slightly warmer fruiting.
In the tent I treat them the same — same substrate, same spawn rate, same fruiting parameters. The blue color is most intense on the first flush in cold conditions and washes out in warmth, so if you are growing for that dramatic blue-grey color, fruit them on the cooler end of the range. For flavor and yield, they are interchangeable. That forgiving overlap is exactly why I point absolute beginners at this pair before anything else, the same way the easiest mushrooms to grow ranking does.
The Best Substrate for Pearl Oyster
Pearl and blue oyster will fruit on almost anything lignocellulose-based, but the two substrates I run most are pasteurized wheat straw and CVG (coir, vermiculite, gypsum). Straw gives the highest yield for the lowest cost; CVG gives the cleanest, most repeatable colonization. Neither needs a pressure canner — both are pasteurized, not sterilized, which is the whole reason this species is beginner-friendly.
For straw, I chop it to a few inches, hydrate, and pasteurize at 65–80°C for about 90 minutes or run a cold-lime soak. For CVG, I hydrate coir with boiling water, mix in vermiculite and a handful of gypsum, and bring it to field capacity — squeeze a handful and only a few drops should release. The full mixing and moisture detail is in the substrate guide and the field-capacity test, and the pasteurization options are compared in the cold vs hot pasteurization piece. If you want a near-free substrate, blue and pearl also grow beautifully on spent coffee grounds.
Spawning and Colonization
I run blue and pearl at a spawn rate of about 1 part grain spawn to 4 or 5 parts bulk substrate. A higher spawn rate colonizes faster, and faster colonization is your best defense against contamination — the mycelium simply outruns competitors. Mix thoroughly so spawn is distributed throughout the bulk, then load it into bags, a bucket, or a tub.
At room temperature (around 20–24°C for colonization, which can run warmer than fruiting), expect full colonization in 10 to 14 days. The substrate goes from scattered white points to a solid white mass, and you will often see the first pins forming before you even introduce fruiting conditions. If you are still deciding how to get from culture to grain, the liquid culture vs spore syringe comparison and the spawn-to-bulk ratio guide cover the front end. For the cheapest container method, the bucket method is hard to beat for this species.
Fruiting Conditions for Blue and Pearl
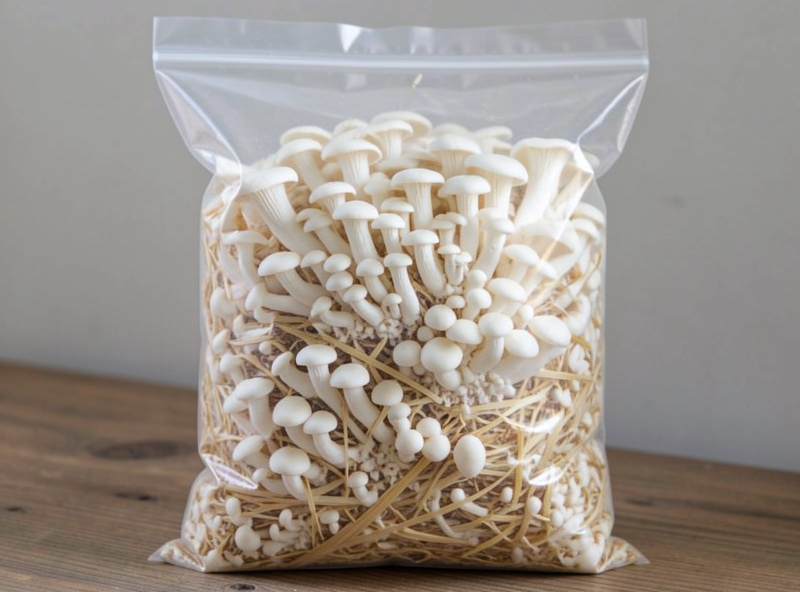
Once colonized, blue and pearl need fresh air, high humidity, and light to fruit. The target is 85–95% relative humidity, several fresh-air exchanges per hour, and indirect light on roughly a 12-hour cycle. Blue strains will pin happily at 10–18°C; pearl tolerates up to about 20°C. Below that range fruiting slows; well above it the caps thin out and the color washes pale.
The classic beginner mistake here is too little fresh air, which gives you long stems and tiny caps instead of broad shelves — oyster is a heavy CO2 producer and needs that air swapped out. I run a small fan on a timer alongside a humidifier in a Martha-style tent, and I mist the air, never the mushrooms directly. The full airflow-versus-humidity balance is in the FAE and CO2 guide, and the gear I actually use is in the fruiting chamber humidifier walk-through.
Harvest and Yield
Harvest blue and pearl just before the caps fully flatten and the edges start to curl upward — that is peak texture and shelf life. Pick the whole cluster by twisting it free at the base rather than cutting individual caps. A well-run bag or bucket gives two to three flushes, with the first being the largest, often half the total yield.
Between flushes, let the block rest and rehydrate; a cold-water soak for a few hours before the next flush helps. Total biological efficiency on straw runs around 75–100%. When yields taper and the block looks tired, it is spent — and there are still uses for it in the spent substrate guide. Fresh pearl and blue oysters keep about a week in a paper bag in the fridge; for the kitchen, the oyster cooking guide covers getting a proper sear instead of a watery pan.
Indoors or Outdoors?
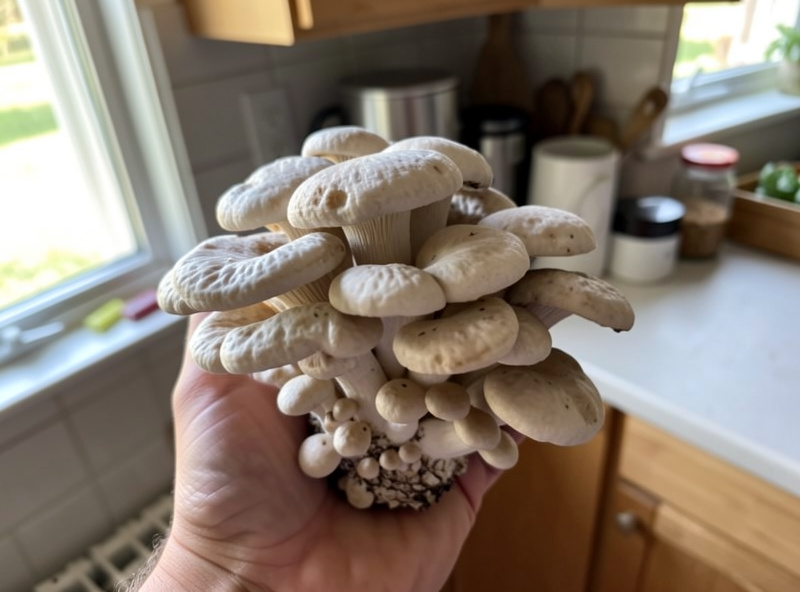
Blue and pearl are equally happy indoors in a tent or outdoors on logs and straw beds — the choice is about control versus convenience. Indoors you get year-round fruiting and tight control over temperature and humidity; outdoors you trade that control for almost zero ongoing effort once the substrate is colonized.
For a permanent garden patch, I inoculate hardwood logs or stumps in spring and let them colonize over the season, then they fruit seasonally for years after rain and a temperature drop. Pearl is one of the most reliable species for this. The drilling, plugging, and waxing routine is in the log inoculation guide, and the broader outdoor logic is in the backyard growing guide. For most beginners, though, an indoor bucket or bag is the faster route to a first harvest, and the gear stays minimal — the equipment guide covers what you genuinely need.
Troubleshooting Blue and Pearl
Blue and pearl are forgiving, but two problems show up often enough to flag. Leggy, thin-stemmed mushrooms with undersized caps mean not enough fresh air — increase airflow. Slimy, discolored, bad-smelling caps mean bacterial blotch, almost always from misting the mushrooms directly or standing water in the chamber; mist the air instead and improve drainage.
The more serious call is mold. Forest-green patches are Trichoderma — bag the block and start over, do not try to salvage it. Healthy oyster mycelium is bright white and often fluffy or rhizomorphic; anything green or grey-fuzzy is not your mushroom. The full visual reference for making that call is in the contamination guide. Once you have blue and pearl dialed in, the warm-weather cousins — pink oyster — are the natural next step.
As an Amazon Associate I earn from qualifying purchases. The fastest start is a bag of blue oyster grain spawn dropped straight into pasteurized straw.
Frequently Asked Questions
Are blue and pearl oyster mushrooms the same species?
Yes. Both are strains of Pleurotus ostreatus and grow almost identically. Blue strains pin a darker grey-blue in cooler temperatures and fade as they mature, while pearl runs slightly lighter and tolerates a touch more warmth.
What temperature do pearl oyster mushrooms fruit at?
Pearl oyster fruits well from about 10 to 20 degrees Celsius, while blue strains tolerate cooler conditions down toward 10 degrees. Colonization can run warmer, around 20 to 24 degrees Celsius, before you drop to fruiting temperatures.
How long until pearl oyster mushrooms are ready to harvest?
From inoculated bulk substrate, expect 10 to 14 days to colonize and another 7 to 14 days to pin and fruit. Start to first harvest is usually about three to four weeks, with the first flush being the largest.
Why are my pearl oyster mushrooms growing tall with small caps?
That is a fresh-air problem. Oyster mushrooms produce a lot of CO2, and high CO2 forces stem elongation over cap development. Add a fan to increase air exchange and the caps will broaden into proper shelves.
Can blue oyster mushrooms grow on coffee grounds?
Yes. Blue and pearl oyster fruit well on spent coffee grounds, which are already pasteurized by brewing. Mix the grounds with pasteurized straw or cardboard for better structure and yield, and use them fresh before they sour.