
A DIY laminar flow hood is a box that pushes air through a HEPA filter so it leaves as a smooth, particle-free sheet — and building one well comes down to three numbers: filter rating (true HEPA, 99.97% at 0.3 microns), filter face velocity (around 90-100 feet per minute), and a blower that can actually push air through that filter. After running both a still-air box and a self-built flow hood for years, I can tell you the hood is what lets you pour agar and open grain jars in open air without holding your breath. This guide is about building one, not deciding whether you need one.
If you are still weighing a flow hood against the cheaper still-air box, I have a dedicated comparison — read Still Air Box vs Flow Hood first, because for a lot of home growers the SAB is genuinely enough. This article assumes you have decided to build the hood and want it done right. It sits under the complete home mushroom equipment guide.
How a Flow Hood Actually Works
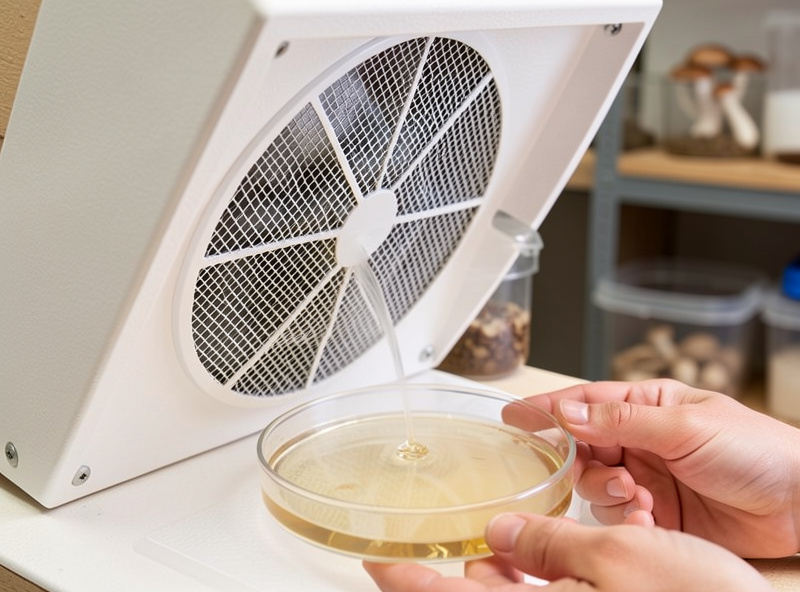
A laminar flow hood pulls room air with a blower, pushes it through a HEPA filter, and delivers it as laminar flow — parallel streamlines moving at uniform speed with no turbulence. That smooth sheet of sterile air sweeps airborne contaminants away from your work surface, so anything you do in front of the filter (pour plates, transfer culture, open jars) happens in a clean zone. You work in the air stream, not in a sealed box.
The key word is laminar. Turbulent air mixes in room contaminants; laminar air does not. That is why a box fan duct-taped to a furnace filter does not count — it has neither true HEPA filtration nor laminar flow, and it just blows dust around. A real hood needs a genuine HEPA element and enough static pressure behind it to maintain even, non-turbulent flow across the whole filter face.
The Components That Matter
Three parts make a hood: the HEPA filter, the blower, and the plenum (the sealed box that mates them). Get the filter and blower matched and the rest is carpentry. Mismatch them and you get either weak flow that does not protect the work, or turbulence that defeats the point.
The HEPA filter must be true HEPA — 99.97% efficiency at 0.3 microns — not a “HEPA-type” or “HEPA-style” element. A common home-hood choice is a filter sized so its rated airflow gives roughly 90-100 FPM face velocity over its area. The blower has to overcome the filter’s static pressure resistance; a quiet bathroom fan rarely can, so growers use centrifugal squirrel-cage blowers rated for the filter’s pressure drop. The plenum is a sealed box (plywood or foam board) that distributes blower output evenly across the entire filter face — gaps or uneven feed create dead zones and turbulence.
| Component | Spec to Hit | Why It Matters |
|---|---|---|
| HEPA filter | True HEPA, 99.97% at 0.3µm | HEPA-type elements do not filter spores reliably |
| Face velocity | ~90-100 FPM | Too slow lets contaminants drift in; too fast is turbulent |
| Blower | Centrifugal, rated for filter static pressure | Weak fans cannot push through HEPA resistance |
| Plenum | Sealed, even distribution box | Uneven feed creates dead zones and turbulence |
| Pre-filter | Coarse filter before blower | Extends HEPA life by catching big debris |
Building and Sealing the Plenum
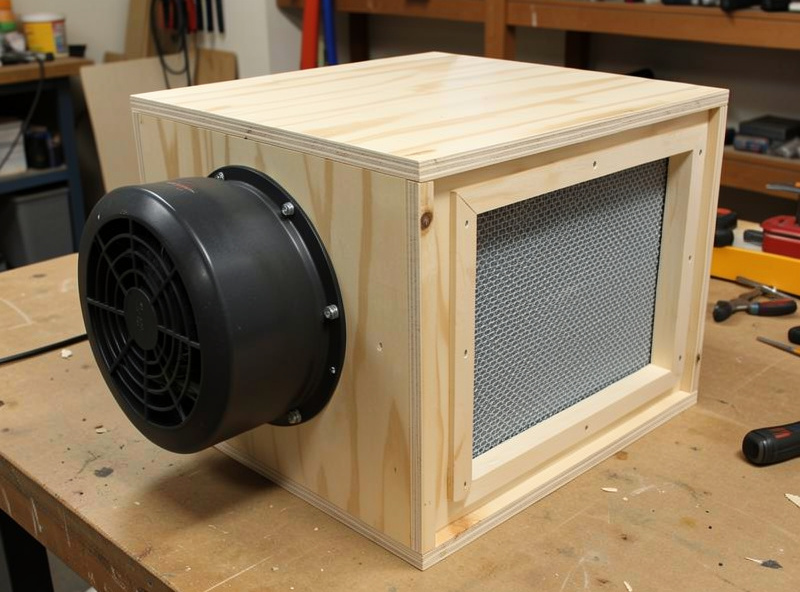
The plenum is where most DIY hoods fail. The blower mounts to one side of a sealed box; the HEPA filter forms the opposite face; the box has to be airtight everywhere else so 100% of the air goes through the filter and not around it. I seal every seam — any leak around the filter gasket lets unfiltered air into your “clean” stream and quietly contaminates work you thought was protected.
Mount the filter so its gasket compresses evenly against the plenum frame, and run a bead of sealant around the perimeter. Add a coarse pre-filter on the blower intake to catch lint and dust before it loads the expensive HEPA element — this dramatically extends filter life. Orient the hood so the filter face is vertical and you work directly in front of it, with your hands and tools downstream of the clean air, never upstream where you would shadow contaminants onto the work.
Using the Hood Correctly
A hood is only as clean as your technique in front of it. I let the blower run several minutes before starting so the work zone fully clears, wipe the surface and my gloves with 70% isopropyl, and keep all open work — agar plates, grain jars, liquid culture — between the filter and me, never behind my hands. Reaching over an open plate puts your arm upstream and drops skin and dust into it.
I also keep the work minimal and deliberate: lids off for the shortest time possible, flame-sterile my scalpel between cuts, and never block the air stream with a tall object that creates a turbulent wake. Done right, a flow hood makes agar work and grain transfers almost boringly reliable — the contamination rate on my plates dropped sharply once I stopped fighting a still-air box for delicate transfers. For the broader sterile chain, the pressure cooker sterilization guide covers the step before the hood.
Cost, Filters, and Honest Limits
Building a hood is a real investment — the true-HEPA filter and a proper blower are the bulk of the cost, and there is no point cheaping out on either, because a fake-HEPA build is worse than a good still-air box. Source a genuine true HEPA filter rated for your target airflow, and pair it with a centrifugal blower matched to the filter’s static pressure. As an Amazon Associate I earn from qualifying purchases.
Be honest about scale. Commercial laminar units are tested and certified to specific particle counts; a home build is not certified, and I treat mine as “far better than open room air” rather than a validated clean bench — that is the framing commercial mycology operators would insist on. For routine spawn transfers a still-air box is still my default; the hood earns its keep on agar and culture work where a sustained clean field genuinely matters. Match the tool to the task and do not over-build for a hobby that mostly needs a clean box and patience.
Frequently Asked Questions
What HEPA filter do I need for a DIY flow hood?
Use a true HEPA filter rated 99.97 percent efficient at 0.3 microns, not a HEPA-type or HEPA-style element. Size it so its rated airflow gives roughly 90 to 100 feet per minute face velocity over the filter area, and pair it with a blower that can overcome its static pressure.
Can I just use a box fan and a furnace filter as a flow hood?
No. That setup has neither true HEPA filtration nor laminar flow, so it mostly blows dust around. A real hood needs a genuine HEPA element and a centrifugal blower with enough static pressure to maintain even, non-turbulent air across the whole filter face.
What is laminar flow and why does it matter?
Laminar flow is air moving in parallel streamlines at uniform speed with no turbulence. That smooth sheet sweeps airborne contaminants away from your work instead of mixing them in. Turbulent air pulls room contaminants into the clean zone, which defeats the entire purpose of the hood.
Do I really need a flow hood or is a still air box enough?
For most home growers doing routine spawn transfers, a still air box is enough and far cheaper. A flow hood earns its place mainly for agar plate and liquid culture work where a sustained clean air field matters. Read the dedicated still air box versus flow hood comparison to decide.
How do I position my hands when working at a flow hood?
Keep all open work between the filter and your body, with your hands downstream of the clean air, never upstream. Reaching over an open plate puts your arm upstream and drops skin and dust onto the work. Tall objects that block the stream create turbulent wakes too.