A mushroom’s life cycle runs in five stages: a spore germinates into thread-like hyphae, hyphae fuse and spread into a white mycelial network, the mycelium fully colonises its food source, environmental cues trigger tiny primordia (pins), and those pins mature into the fruiting body that releases the next generation of spores. The whole loop takes 35-50 days for oyster mushrooms grown at home.
Understanding this cycle is not academic — every stage maps directly to a step you control as a grower, and knowing which biological phase you are in tells you exactly what the mushroom needs and what could go wrong. Colonisation is just the mycelial-spread phase; pinning is just primordia formation responding to fresh air and light. Once you see cultivation as steering a natural life cycle rather than following a recipe, troubleshooting becomes obvious. Below I walk each stage with the grower’s-eye view I use on my own blocks.
Disclosure: MycoMansion is reader-supported. As an Amazon Associate I earn from qualifying purchases made through links in this article, at no extra cost to you. I only point to gear I actually use or would buy for my own grow.
Stage 1: Spore and Germination
The cycle begins with a spore — a microscopic single-celled reproductive unit, roughly 5-15 microns across, released by the millions from a mature mushroom’s gills. When a spore lands somewhere warm, moist, and nutritious, it germinates within 1-3 days, pushing out a single thread of cells called a hypha. A spore alone cannot make a mushroom; it must first find a compatible mating partner.
This is why most home growers skip spores entirely. A single spore produces monokaryotic (one-nucleus) hyphae that are sterile until they fuse with a genetically compatible mate — unpredictable and slow. Spores are mainly useful for identification rather than reliable cultivation, which is exactly why a spore print is an ID tool: drop a cap on paper, read the spore colour, and you have a key diagnostic feature, as covered in how to make a mushroom spore print. For actual growing, cultivators start from cloned dikaryotic mycelium via liquid culture or grain spawn instead of spores, which gives fast, reliable, genetically consistent results.
Stage 2: Hyphae Fuse into Mycelium
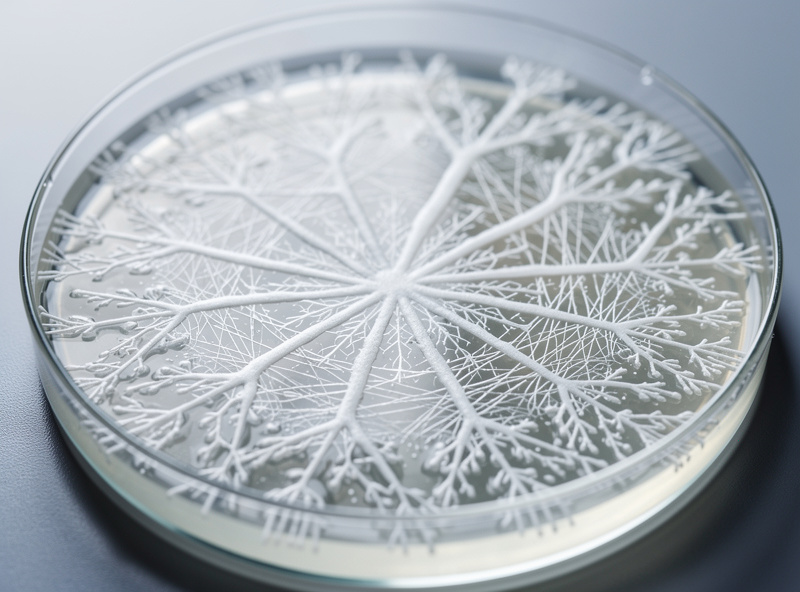
When two compatible hyphae meet, they fuse into dikaryotic (two-nucleus) mycelium — the true vegetative body of the fungus and the workhorse of every grow. This mycelium grows outward as a branching white network, secreting enzymes that digest the substrate externally and absorbing the broken-down nutrients. On agar or in a grow bag, it looks like a spreading mat of fine white threads, sometimes ropy and rhizomorphic, sometimes fluffy and tomentose.
This mycelial stage is where cultivators do almost all their work, because healthy vigorous mycelium is the foundation of a good harvest. It is also where contamination competes hardest — mould and bacteria want the same substrate, so the grower’s whole job is giving the mushroom mycelium a clean head start. Learning to read this stage visually, distinguishing healthy rhizomorphic growth from the warning signs of trouble, is the single most valuable beginner skill; the full reference is in what does mycelium look like.
Stage 3: Full Colonisation
Colonisation is complete when the mycelium has claimed the entire substrate — the grain, sawdust block, or bulk tub turns uniformly white as the network knits edge to edge. For oyster this takes 14-21 days at 20-24°C; lion’s mane runs slightly longer. A fully colonised substrate is biologically a fortress: the mushroom has consumed the available food and now dominates the territory, leaving little room for invaders.
This is the patience stage, and the one beginners ruin most often by opening the container to “check.” Every peek swaps humid still air for dry room air and risks introducing contaminants the colonised block would otherwise resist. The mycelium needs no help here — just darkness, stable 20-24°C temperature, and to be left alone. Full colonisation is also the readiness signal: only once the substrate is uniformly white should you move to triggering the fruiting stage.
Stage 4: Primordia and Pinning
Once colonised, the fungus shifts from vegetative growth to reproduction when it senses the right environmental cues. Dropping the temperature 2-4°C, raising humidity to 90-95%, introducing fresh air exchange, and adding indirect light together signal “the food is gone, time to make spores.” In response the mycelium knots into tiny dense clumps called primordia, which appear as 2-5 millimetre pins 5-10 days after the cues are introduced.

Pinning is the most satisfying stage to watch and the most delicate to manage. The pins are vulnerable to drying out, so this is when humidity and gentle fresh air matter most — too little fresh air and you get long leggy stems with tiny caps; too dry and the pins abort. Carbon dioxide is the hidden lever here: high CO2 from poor air exchange tells the mushroom it is still buried, so it stretches upward instead of forming proper caps. The fix is the daily fresh-air exchange that defines good fruiting-chamber management.
Stage 5: Fruiting Body and Spore Release
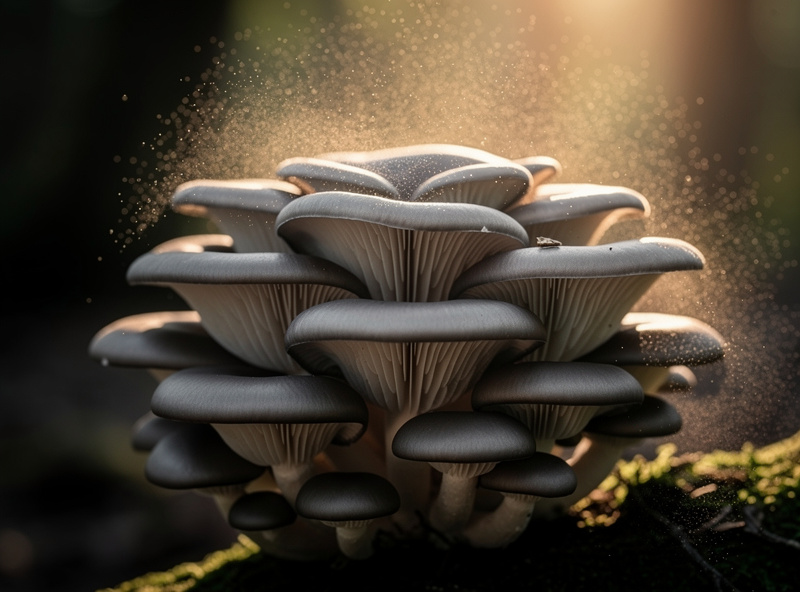
The pins balloon into recognisable mushrooms over 7-12 days, caps unfurling as the fruiting body matures. Beneath the caps, gills develop the spore-bearing surface, and once mature the mushroom releases millions of spores to start the cycle anew. Harvest timing hinges on this: cut at the unrolled-edge stage, just before full spore drop, for maximum yield and a viable second flush.
If you wait too long, the mushroom prioritises reproduction — it dumps spores, the second-flush primordia get smothered under spore fall, and the block may abort its next flush entirely. Harvesting slightly early interrupts spore release and keeps the block’s energy available for re-flushing. After harvest, soaking and re-fruiting the block restarts stages 4 and 5 for a second flush at 60-70% of the first. The complete fruiting-to-harvest workflow and the kit-versus-DIY choice that frames it are in the beginner guide and grow kit vs DIY.
The Life Cycle Mapped to Cultivation Steps
The table below translates each biological stage into the grower’s term, the visible appearance, and the typical duration for an oyster mushroom grown at home. This mapping is the mental model I use to diagnose any stalled grow — identify which stage you are stuck in, and the cause narrows immediately.
| Biological Stage | Grower’s Term | What You See | Typical Duration |
|---|---|---|---|
| Spore germination | Inoculation source | Nothing visible yet | 1-3 days |
| Hyphae fuse to mycelium | Spawn run begins | White threads spreading | 3-10 days |
| Full colonisation | Fully myceliated | Uniformly white substrate | 14-21 days |
| Primordia formation | Pinning | 2-5 mm white pinheads | 5-10 days after cues |
| Fruiting body matures | Flush / harvest | Full-size mushrooms | 7-12 days |
| Spore release | Drop / overripe | Caps reflexed, spore dust | At maturity |
Watching the Cycle Yourself
The fastest way to internalise the life cycle is to grow a transparent setup where you can watch each stage unfold. A clear all-in-one grow bag or an agar plate lets you observe germination and mycelial spread directly, which turns the abstract stages into something you recognise on sight. Oyster is the ideal teaching species because every stage moves fast enough to hold your attention.
To watch the early stages closely, a set of agar petri dishes shows germination and hyphal fusion under your own eye, while a pre-sterilised all-in-one grow bag lets you follow colonisation through to fruiting without opening anything. Starting from sterilized grain spawn lets you skip straight to the colonisation stage if the early lab work does not interest you. Whichever route you take, recognising the stage you are in is what separates a grower who can troubleshoot from one following steps blindly — and contamination, the cycle’s main enemy, is covered in the contamination guide.
Frequently Asked Questions
What are the stages of a mushroom life cycle?
Five stages: spore germination into hyphae, hyphae fusing into mycelium, full colonisation of the substrate, primordia formation (pinning), and fruiting body maturation with spore release. The fruiting body then drops spores to restart the cycle. For home oyster mushrooms the full loop takes 35-50 days.
How long does the full mushroom life cycle take?
For oyster mushrooms grown at home, about 35-50 days from inoculation to harvest. Germination takes 1-3 days, mycelial colonisation 14-21 days at 20-24 Celsius, pinning 5-10 days after fruiting cues, and fruiting body maturation 7-12 days. A second flush adds roughly two more weeks.
What is the difference between mycelium and a mushroom?
Mycelium is the vegetative body of the fungus, a white branching network of hyphae that digests the substrate and lives most of the fungus’s life. The mushroom is the temporary fruiting body the mycelium produces only to make and release spores when environmental conditions trigger reproduction.
What triggers a mushroom to start fruiting?
Four environmental cues introduced together: dropping temperature 2-4 Celsius, raising humidity to 90-95 percent, increasing fresh air exchange to lower carbon dioxide, and adding indirect light. These signal the colonised mycelium that its food is gone and it is time to form primordia and fruit.
Why do growers not start from spores?
A single spore produces sterile one-nucleus hyphae that must fuse with a compatible mate before they can fruit, making spores slow and unpredictable. Cultivators instead start from cloned dikaryotic mycelium via liquid culture or grain spawn for fast, reliable, genetically consistent results.
What happens if I harvest a mushroom too late?
An overripe mushroom releases its spores, coating the substrate surface. This smothers the developing second-flush primordia and can cause the block to abort its next flush entirely. Harvest at the unrolled-cap stage, just before full spore drop, for maximum yield and a healthy second flush.