
Batching grain spawn means producing colonized grain in scheduled waves — one master jar multiplied to ten by grain-to-grain transfer, started on staggered days — so a clean jar of spawn is ready the exact week a fruiting block frees up. A steady rotation of 15 blocks needs roughly 10 to 15 lb of finished spawn every week, on a date, not “whenever a jar happens to finish.”
This is the subsystem that killed my first two attempts at a real rotation. I had fruiting space for a dozen blocks and a grain supply that produced maybe four jars a month, so the tent sat half empty while I waited on spawn. Grain is the bottleneck nobody photographs — it is not glamorous like a shelf of pinning oyster — but it is the pump that drives the whole pipeline. Get the schedule right and blocks never wait; get it wrong and you build a beautiful stall. This is the production-scheduling half of the grain problem; the hands-on prep is in grain spawn preparation: rye and millet, step by step, and both sit under scaling up a home mushroom grow.
Why Batch Grain Spawn Instead of Making It As Needed?
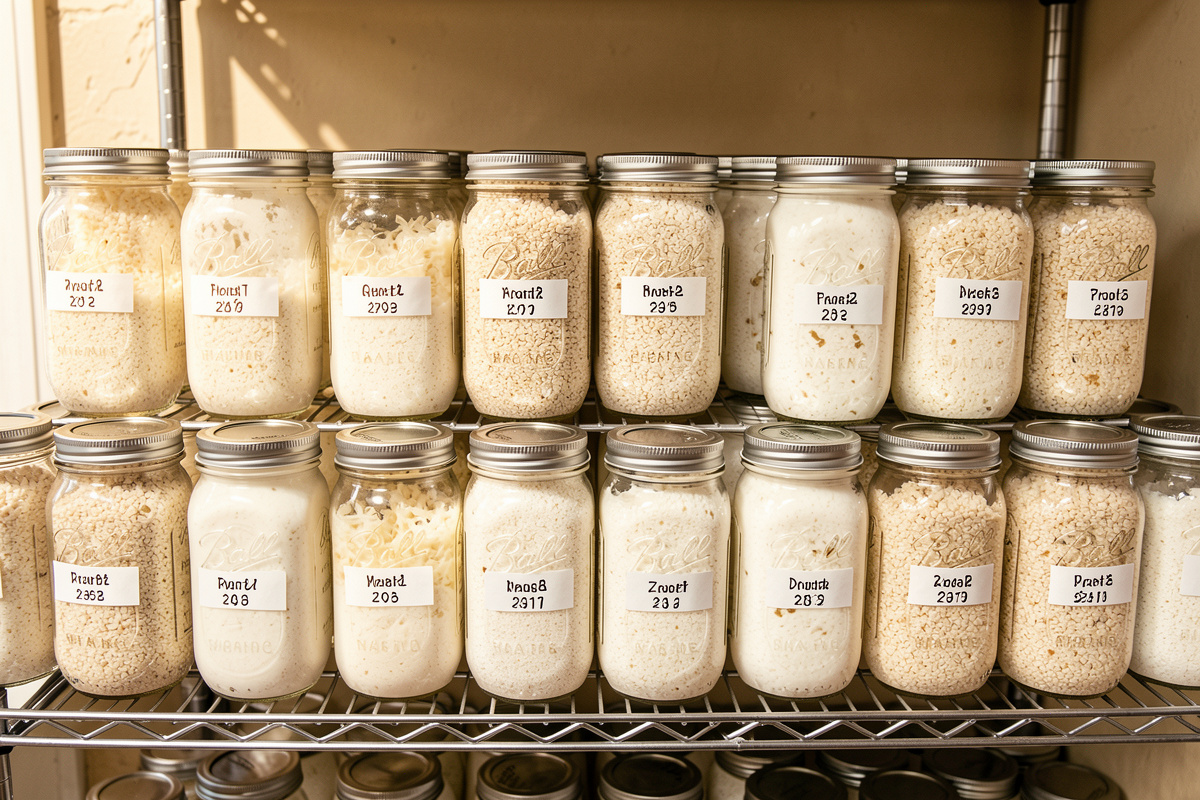
You batch because grain has a long lead time — 10 to 14 days to fully colonize a jar of rye, plus sterilization and cooling — so making it “as needed” means your block always waits two weeks it should not have to. Batching turns that lead time into a buffer: spawn is already colonizing before you need it, so it lands ready on schedule.
Think of it like sourdough — the same clean-process discipline runs my starter, the koji tray, and the salami chamber, and grain spawn is no different. You do not start a loaf the morning you want bread; the levain is already built. Grain works the same way. If a fruiting block takes 14 days to colonize and then 10 to 14 days to fruit, and grain takes another 12 days to colonize before it can even inoculate that block, then the grain has to be started nearly a month before the mushrooms you want to eat. Batching on a schedule collapses that anxiety into a rhythm: you always have jars at every stage — some just inoculated, some half white, some fully colonized and ready to go to bulk. The grain spawn and culture lab guide covers the full pipeline this schedule sits inside.
How Much Grain Spawn Do You Need Per Week?
Work backward from your fruiting target. A single 5-lb fruiting block wants roughly 1 to 1.5 lb of colonized grain spawn at a 1:2 to 1:4 spawn-to-bulk ratio, so a rotation inoculating 10 blocks a week needs about 10 to 15 lb of finished spawn weekly. A standard quart jar holds roughly 2.5 to 3 lb of hydrated grain, so that is four to six colonized quart jars every week.
The ratio you choose changes the math and the risk. A heavier spawn rate — closer to 1:2 — colonizes bulk faster and outruns contamination, which matters at volume, but it burns more grain per block. A leaner 1:4 stretches your spawn further but colonizes slower and gives mold more time to get a foothold. I run about 1:3 for oyster on CVG and Masters Mix and lean heavier for anything fussy. The spawn-to-bulk ratio guide works through the tradeoffs. Once you know your weekly pound target, you know your jar count, and once you know your jar count you know how many the canner has to turn out — the whole schedule falls out of that one number.
How Do You Multiply One Jar Into Many?
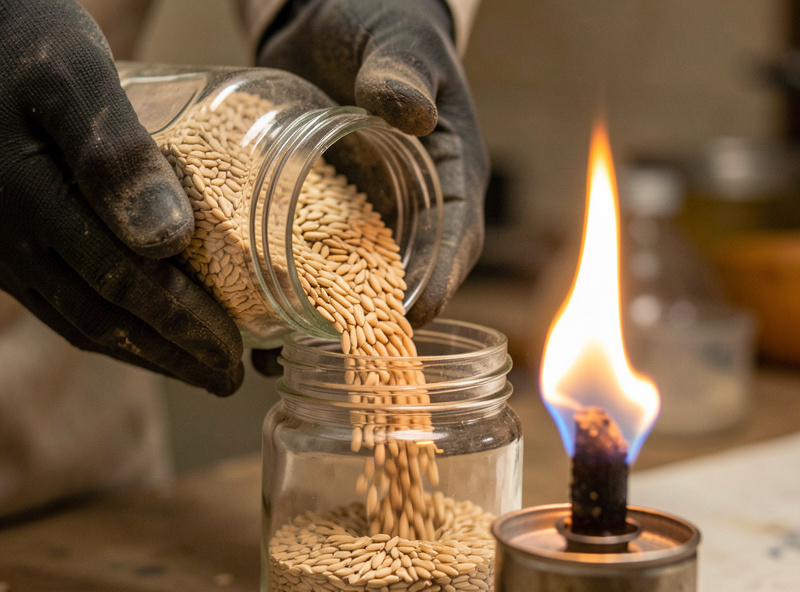
You multiply grain with grain-to-grain transfer: a single fully colonized master jar, shaken to break up the mycelium, seeds ten fresh sterilized jars in minutes. Each G2G jar then colonizes in about half the time a liquid-culture start would take, because you are inoculating with far more active mycelium.
This is the multiplier that makes batching possible without a stir plate running around the clock. I keep one clean master jar going, and when it is fully colonized I flame the lids, work in my still-air box, and split it across ten jars — one into ten, the full method in grain-to-grain transfer: one jar into ten. The trick is timing the master so it finishes just before your transfer day. G2G colonizes fast — often 7 to 10 days for rye versus 14-plus from a liquid culture — because a heavy live inoculation point count means the mycelium bridges the whole jar quickly. I still keep liquid culture on a stir plate upstream as the genetic reservoir, but the working multiplication happens jar-to-jar. One caution the North American Mycological Association and every careful grower stresses: G2G also multiplies any contamination you cannot see, so the master jar has to be visibly clean — see namyco.org for general cultivation background. A hidden bacterial jar taken to G2G is ten contaminated jars, not one.
What Does a Weekly Grain Production Schedule Look Like?
A schedule that holds runs on two grain days a week: one to sterilize and load fresh jars, one to run G2G from the master and start the next master. Below is the cadence I run for a 15-block rotation — adjust the jar counts to your own pound target, but keep the rhythm.
| Day | Action | Jars in play | Why this day |
|---|---|---|---|
| Sunday | Sterilize week’s grain jars (15 PSI) | 6 fresh quarts + 1 master jar | Cool overnight for Monday transfer |
| Monday | G2G from last master into 6 jars; start next master | 6 inoculated + 1 new master | Grain cooled, mycelium active |
| Mid-week | Shake jars at ~50% colonization | 6 colonizing | Even out colonization, break lag |
| Following weekend | Finished jars go to bulk; inoculate blocks | 6 finished → blocks | Spawn ready as blocks free up |
| Rolling | New master colonizing for next cycle | 1 master + backups | Never run out of a clean master |
The whole schedule pivots on one rule: always have the next master already colonizing before the current one is used up. Lose the master and the entire pipeline resets to a two-week liquid-culture start. I keep a backup master and a couple of agar plates as insurance — belt and suspenders on the one link that stalls everything.
How Far Apart Should You Stagger Grain Starts?
Stagger grain starts to match your slowest species’ colonization time, usually starting a fresh batch every 5 to 7 days. That interval keeps a steady stream of finished jars arriving without letting any batch over-colonize and dry out on the shelf while it waits for a block.
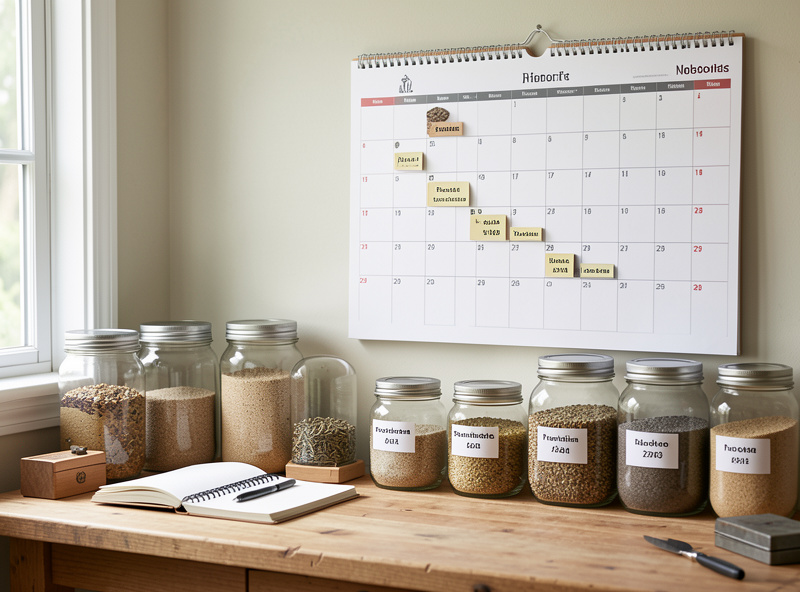
The interval is dictated by biology, not convenience. Rye colonizes in about 10 to 14 days at 21 to 24°C; millet runs a touch faster because of the higher grain count per jar. If you start a batch every week, and each takes ~12 days, you always have one batch finishing as the next hits its midpoint — a smooth conveyor. Start them all at once instead and you get the classic feast-then-famine: everything finishes together, half sits waiting and drying, and then you have nothing for two weeks. I mark every jar with its start date and log it in a notebook, because past four or five batches on a shelf I genuinely cannot remember which is which — the same tagging discipline covered in tracking a multi-block grow. Cornell’s small-farms mushroom program publishes production-planning resources worth reading at smallfarms.cornell.edu. Match the interval to the grain, not to your weekend.
How Do You Sterilize Enough Grain to Keep Up?
You keep up by packing the pressure canner completely full every load and running it on the same day each week. Grain must be sterilized, not pasteurized — 90 minutes to 2.5 hours at 15 PSI depending on jar size and how tightly the canner is packed — because grain is a rich medium that any surviving bacterial spore will explode through.
My canner is a large stovetop pressure canner and it runs full or not at all; heating it for two jars wastes an hour of gas. I load it to capacity with quart jars of rye hydrated to field capacity — grain that squeezes without dripping, roughly 45 to 50% moisture — following the pressure-processing discipline in how to sterilize grain spawn. Underhydrated grain does not colonize evenly; overhydrated grain pools water at the bottom and breeds bacteria. Getting that hydration right is half the battle, and choosing a canner big enough to cover a week’s jars in one load is the other half — see the best pressure canner guide. When the canner is venting steam and rocking on the burner, the smell of hot rye fills the room — clean, faintly bready — and that is the smell of a week’s spawn getting made in one shot. Throughput is a scheduling win, not a bigger-machine win.
What Trips Up a Grain Schedule?
Grain schedules break for three reasons: losing the master jar to contamination, underestimating colonization time, and forgetting which jar started when. Any one of them turns a smooth conveyor back into feast-or-famine, and all three are avoidable with a backup, honest timing, and a label.
My worst schedule collapse came from over-optimism about colonization speed. I planned on 10-day rye but my room ran cool that winter — closer to 19°C than 22°C — and colonization dragged to 16 or 17 days. Every downstream date slipped, blocks sat waiting, and I was back to inoculating in a panic. The fix was not effort; it was building the schedule around the slow case and holding a buffer of finished jars. Now I plan colonization at the pessimistic end, keep a backup master always going, date every jar, and never assume the room temperature is what the thermostat says the shelf is. A schedule that only works when everything goes right is not a schedule — it is a hope. Build in slack and the pipeline survives a cold week, a slow strain, and the jar you forgot to shake.
What I’d Do to Build a Schedule That Holds
If I were building a grain schedule from scratch, I would start with one number — pounds of spawn per week — and work everything backward from it. That gives the jar count; the jar count gives the canner load; the canner load gives your fixed sterilization day. Then anchor a G2G day two days later once jars have cooled, and always keep the next master colonizing before you use the current one.
Stagger fresh starts every 5 to 7 days matched to your slowest grain, plan colonization at the pessimistic end, and label every jar with its start date. Keep a backup master and a couple of agar plates as insurance on the single link that stalls everything. Do that and grain stops being the bottleneck that starved your rotation and becomes the quiet pump that keeps blocks fed. The unglamorous jar of colonizing rye is the most important thing on your shelf — treat its schedule with the same respect you give the harvest.
How much grain spawn do I need per fruiting block?
About 1 to 1.5 lb of colonized grain spawn per 5-lb fruiting block at a 1:2 to 1:4 spawn-to-bulk ratio. A rotation inoculating 10 blocks a week needs roughly 10 to 15 lb of finished spawn, which is four to six colonized quart jars weekly.
How often should I start a new batch of grain spawn?
Start a fresh batch every 5 to 7 days, matched to your slowest species’ colonization time. Rye colonizes in about 10 to 14 days at 21 to 24 degrees Celsius, so a weekly start keeps one batch finishing as the next hits its midpoint, giving a steady stream instead of feast-or-famine.
How many jars can one grain jar make with grain-to-grain transfer?
One fully colonized master jar seeds about ten fresh sterilized jars. Each G2G jar then colonizes faster than a liquid-culture start, often 7 to 10 days for rye, because it is inoculated with a large amount of active mycelium rather than a few points.
Why does my grain spawn schedule keep falling apart?
Usually because colonization ran slower than planned, the master jar was lost to contamination, or jars were not dated. Build the schedule around the pessimistic colonization time, keep a backup master always colonizing, and label every jar with its start date.
Do I have to sterilize grain spawn or can I pasteurize it?
Grain must be sterilized, not pasteurized, at 15 PSI for 90 minutes to 2.5 hours depending on jar size and canner load. Grain is a rich medium, and any surviving bacterial spore will spread through it. Pasteurization is only adequate for bulk substrates like straw and CVG.
How do I keep a clean master jar for continuous production?
Always keep the next master colonizing before the current one is used up, and hold a backup master plus a couple of agar plates as insurance. Losing the master resets the whole pipeline to a slow liquid-culture start, so it is the single link worth protecting most.