
A good outdoor mushroom bed is really a moisture-and-shade engineering problem solved with wood chips. The design that works in nearly any garden is simple: a shaded, well-drained spot, a 4 to 6 inch base layer of hardwood chips or straw, spawn layered through it, and a mulch cap to hold humidity. Built that way, a single bed colonizes in 8 to 12 weeks and fruits for two or three years before it needs refreshing.
I run an outdoor bed in the garden alongside my log stack and indoor blocks, and the thing I have learned is that bed *design* — where you put it, how you layer it, how you frame it — matters more than the spawn you buy. A bed in the wrong spot fails no matter how good the genetics. This guide is how I design and build an outdoor mushroom bed from siting through layering, framing, and integrating it into the garden.
Siting: Shade, Drainage, and Proximity
The single most important design decision is the site. Outdoor mushroom beds want shade — dappled or full, but never baking afternoon sun that dries the mulch faster than the mycelium can run. The north side of a building, under a deciduous tree, along a shaded fence line, or beneath taller garden plants all work. I put mine where the garden already stays damp and cool, because that is where the bed needs the least babysitting.
Drainage is the partner to shade. The bed wants consistent moisture but never standing water, which drowns the mycelium and invites bacterial and mold problems. Slightly raised ground, or a bed built up above grade, sheds excess rain while the mulch cap holds working moisture below. And put the bed where you will actually walk past it — proximity is what gets it watered in a dry spell and harvested at the right moment.
The Layered Build: Base, Spawn, Cap
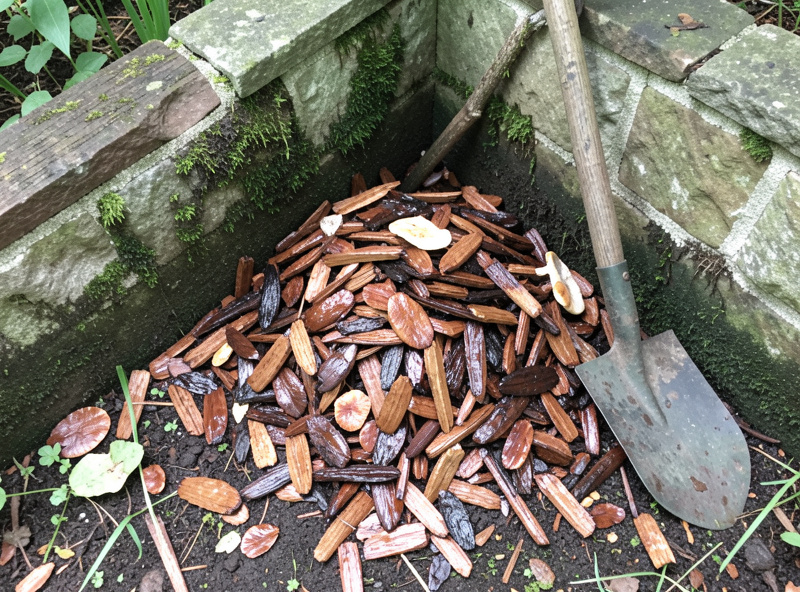
The core design is a lasagna of substrate and spawn. I start with a base layer of substrate 4 to 6 inches deep — fresh hardwood wood chips for wine cap, pasteurized straw for oyster, or a chip-and-straw mix. Onto that I crumble grain or sawdust spawn evenly, then add a second substrate layer, more spawn, and a final mulch cap of chips or straw on top to lock in humidity and shade the surface mycelium.
Soaking the wood chips before building is the step that makes or breaks colonization — dry chips wick moisture out of the spawn and stall it. I hydrate chips to field capacity (squeezing a handful gives a few drops, not a stream) the day before. The spawn-through-layers approach spreads inoculation points throughout the bed so the mycelium runs from a dozen fronts at once rather than crawling in from the edges. The substrate-by-species logic — why chips suit wine cap and straw suits oyster — is the same one I lay out in my guide to mushroom substrates.
| Design Element | Wood-Chip Bed | Straw Bed |
|---|---|---|
| Best species | Wine cap (Stropharia) | Oyster |
| Base depth | 4 to 6 inches | 4 to 6 inches |
| Substrate prep | Soak to field capacity | Pasteurize, then cool |
| Colonization time | 8 to 12 weeks | 3 to 6 weeks |
| Productive life | 2 to 3 years | 1 to 2 seasons |
| Refresh method | Top up with fresh chips | Rebuild with new straw |
Framing and Edging the Bed
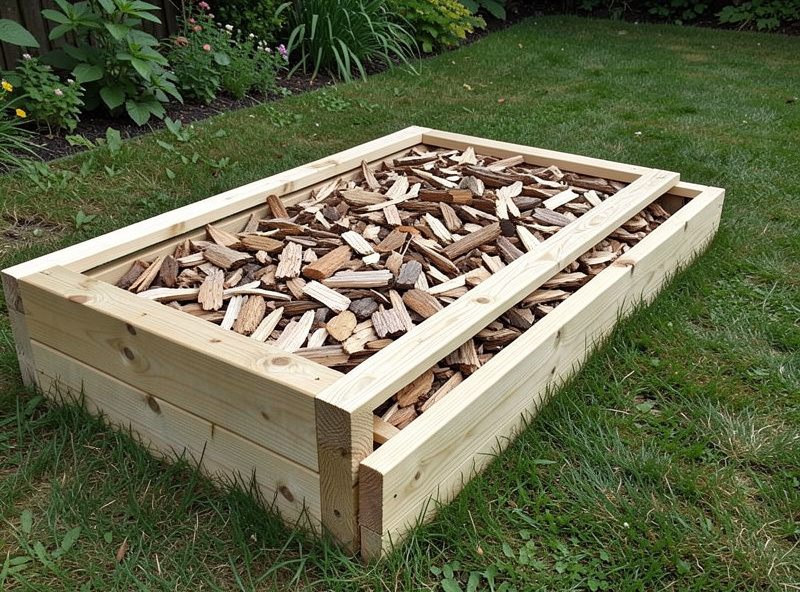
You can run a bed as a loose pile, but framing it makes the design tidier and the moisture more stable. A simple frame of untreated boards, logs laid as edging, or a ring of stones holds the substrate together, keeps the mulch from spreading into the lawn, and gives you a clean line to mow against. Avoid pressure-treated lumber touching the substrate — you are growing food, and the preservatives are not something I want leaching into a bed I will eat from.
Size the frame to the spawn you have: a bag of spawn comfortably inoculates a bed of roughly 15 to 25 square feet at the depths above. I like long, narrow beds over wide ones so I can reach the whole surface to harvest and water without compacting the bed by standing on it. Compaction squeezes out the air the mycelium needs, so the design goal is a bed you can tend entirely from the edges.
Integrating the Bed Into the Garden
The best outdoor bed designs do double duty. A wood-chip mushroom bed laid down a shaded garden path turns a walkway into a wine-cap producer, which is exactly the pathway-and-bed combination I detail in my piece on outdoor wine cap beds. Beds tucked under taller vegetables borrow shade from the canopy above while the spent substrate eventually feeds the soil. This crossover — mushrooms and vegetables sharing the same shaded ground — is the natural-growing overlap I keep returning to across the garden.
Think of the bed as a multi-year fixture, not a one-season planting. As the substrate breaks down it becomes superb garden compost, so a retired mushroom bed feeds the next planting bed. I plan placement with that succession in mind — today’s wine-cap path is next year’s enriched soil. For the species choices and the wider outdoor system this bed fits into, my complete outdoor mushroom growing guide covers logs, mounds, and beds together.
Designing a Multi-Species Bed
You can run more than one species in a single garden footprint if you zone the design rather than mixing spawn. I keep wood-chip zones for wine cap and straw zones for oyster as separate sections of the same bed, divided by a board or a strip of bare ground, because the two substrates colonize at different speeds and mixing them just lets the faster runner crowd out the slower. Zoning also lets me stagger the build: I will lay the chip section in early spring and add a straw section a few weeks later, which spreads the harvest window across the season.
The design principle is to match each microclimate within the bed to a species. The deepest-shade, dampest end goes to oyster, which forgives wet and fruits fast; the better-drained, partly lit end goes to wine cap, which is more tolerant of light and runs a longer, more durable colonization. Thinking of the bed as a set of small habitats rather than one uniform block is what lets a modest garden corner produce two or three different mushrooms across a year without any of them fighting.
Refreshing and Extending a Bed
A bed is a living system that slowly eats its own substrate, so the design has to plan for feeding it. Each year I top up a wine-cap bed with a fresh 2 to 3 inch layer of soaked hardwood chips, laid right over the existing colonized material. The established mycelium runs up into the fresh chips almost immediately, effectively extending the bed’s life indefinitely as long as I keep feeding it. A bed I built three seasons ago is still producing on nothing but annual chip top-ups.
Straw beds are shorter-lived by design — straw breaks down fast, so an oyster section usually wants a full rebuild with new pasteurized straw each year or two rather than a top-up. Knowing which sections to top up versus rebuild is part of designing the bed for low maintenance: put the perennial chip zones where you want a permanent fixture, and the rebuildable straw zones where you do not mind redoing the work for the faster payoff.
Watering, Mulch, and First Flush
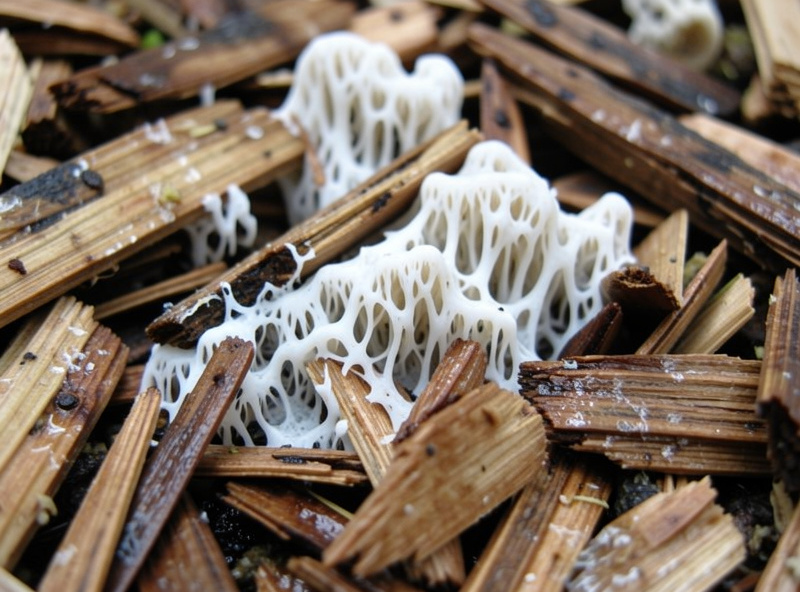
Once built, the bed needs little: check it stays damp, soak it in dry spells, and resist the urge to dig in and look. The mulch cap is doing the humidity work, and disturbing it dries the surface mycelium just as it is establishing. Colonization shows as white mycelium webbing through the chips when you gently part the cap — the same bright, rhizomorphic white I look for everywhere, and the contamination tells are identical to indoor work.
First flush usually comes after the bed is fully run and a good rain or a deep watering follows a temperature shift — wine cap beds often fruit their first season, sometimes within a few months of a spring build. After that the bed fruits on its own rhythm with seasonal moisture, and a yearly top-up of fresh chips keeps it producing. A bed designed right is the lowest-effort mushrooms I grow: build it once, feed it chips, harvest for years.
The one design mistake I see beginners make is treating the bed like a vegetable plot and fussing over it daily. Mushroom beds reward neglect inside a good design far more than they reward attention. Once the site, the layering, and the mulch cap are right, the bed wants to be left alone to run, watered only when the season goes genuinely dry. If the bed is failing, the answer is almost never more intervention — it is a siting or drainage flaw in the original design that no amount of watering will fix.
Beyond spawn and substrate, an outdoor bed needs almost no specialized gear — the one purchase that pays off is enough spawn to inoculate the full bed area at the layered depths. As an Amazon Associate I earn from qualifying purchases. A bag of wine cap or oyster bed spawn sized to your bed is the only consumable to budget for.