
A casing layer is a thin, low-nutrient top dressing applied over a colonized substrate to hold moisture and trigger even pinning. It is essential for button and portobello mushrooms grown on composted manure, and an optional tool for evening out pins on other bulk species. The classic casing is a mix of peat moss and hydrated lime, laid about an inch deep and kept moist while pins form.
Most bulk growers never need a casing layer — oyster and wine cap pin straight off the colonized surface without one. But for Agaricus (the supermarket button mushroom) a casing is not optional: it is the physical and microbial trigger that tells the mycelium to stop growing and start fruiting. This guide covers when a casing helps, what it is made of, and how to apply and manage it.
This article contains affiliate links. As an Amazon Associate I may earn from qualifying purchases, at no extra cost to you.
What a Casing Layer Does
A casing layer is a moisture-holding, near-sterile top layer that sits above the colonized substrate and creates the humid microclimate primordia need to form. It is deliberately low in nutrients so it does not feed contaminants, and slightly coarse so it holds water while letting the mycelium grow up into it and pin at the surface. The casing also buffers the substrate against drying out during the moisture-hungry pinning phase.
For Agaricus the casing is doing something deeper: the shift from the rich compost into a lean, moist casing layer, along with the microbial population the casing carries, is what signals the mycelium to switch from vegetative growth to fruiting. Without that transition the compost just keeps colonizing and never pins. This is why button mushrooms are the one species in the bulk growing repertoire that absolutely requires a casing.
When You Need a Casing (and When You Don’t)
You need a casing layer for button and portobello (Agaricus bisporus) grown on composted manure — it is mandatory for those to fruit. You may want one for some cased gourmet beds or to even out erratic pinning, where a casing distributes moisture and gives a flatter, more uniform flush. Beyond that, most home tubs skip it.
You do not need a casing for oyster, wine cap, lion’s mane, or king oyster grown the usual way — these pin readily off the colonized surface with the right fresh-air exchange and humidity, and adding a casing just complicates the build and adds a contamination surface. If your oyster tub is not pinning, the fix is almost always more fresh-air exchange, not a casing layer. Match the technique to the species rather than applying a casing by default.
The Peat and Lime Casing Recipe
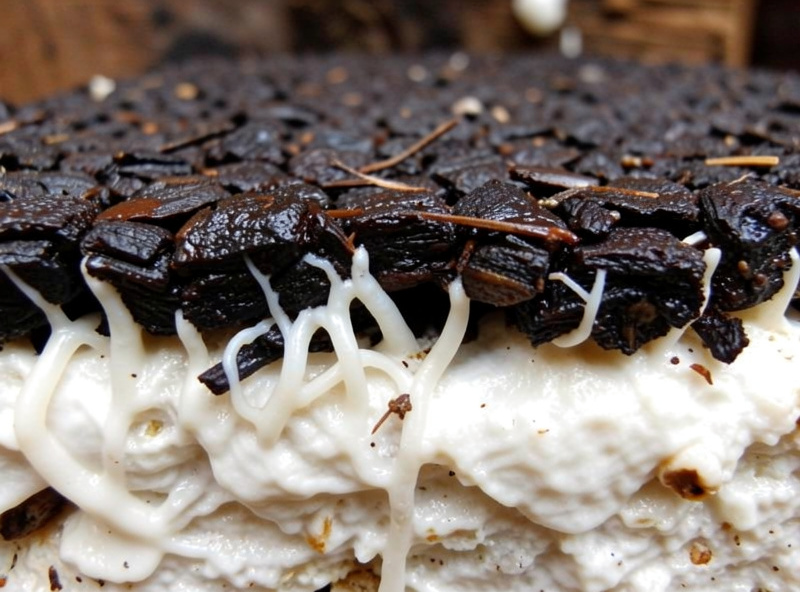
The standard casing is sphagnum peat moss mixed with water and enough hydrated lime to bring the pH up to roughly 7.5–8.0 — the slightly alkaline range that favors mushroom mycelium over competitors. Mix the peat with water to a moist, crumbly consistency, stir in the lime, and pasteurize the casing the same way you would bulk substrate so it goes on near-sterile but not lifeless. A coir-and-lime casing works as an alternative for growers who prefer not to use peat.
The lime is doing two jobs: raising pH to discourage mold and bacteria, and giving the casing a stable buffer so the surface stays in the mushroom-friendly range as it is watered. Use horticultural hydrated lime or garden lime, not quicklime. A bag of sphagnum peat moss and garden lime makes many batches and is the same peat-and-lime combination used for the Agaricus casing in the manure substrate guide.
Consistency matters as much as the ingredients. Aim for a casing that holds together when squeezed but crumbles apart when you open your hand — the same field-capacity feel as bulk substrate. Too wet and it compacts into an airless skin the mycelium struggles to penetrate; too dry and it never holds the humidity primordia need. Mix it, let it sit so the peat fully hydrates, then check the squeeze before you pasteurize. Getting the texture right at mixing time saves a lot of corrective misting later.
| Casing Component | Purpose | Notes |
|---|---|---|
| Sphagnum peat moss | Water-holding base | Coir/lime is an alternative |
| Hydrated/garden lime | Raise pH to ~7.5–8.0 | Never quicklime |
| Water | Moist, crumbly consistency | Field-capacity feel |
| Pasteurization | Reduce contaminants | Same band as bulk, 65–75°C |
Applying and Managing the Casing
Apply the casing once the substrate beneath is fully colonized, spreading it about an inch (2–3 cm) deep across the surface in an even layer. Keep it consistently moist — mist gently rather than soaking, since waterlogged casing drowns the surface and invites bacteria. Within days the mycelium grows up into the casing; once it has begun to colonize the casing, drop CO2 and introduce light to trigger pinning, exactly as with any bulk fruit.
The casing must never dry out during pinning, but it also must never pool water. Light, frequent misting on a schedule keeps it in the right zone. A subtle point growers miss: let the mycelium colonize partway into the casing but not fully case over and overlay, then case-run is interrupted by the environmental shift that triggers pins. The same field-capacity instinct from the moisture guide applies to the casing surface.
Reading a Casing Layer as It Runs
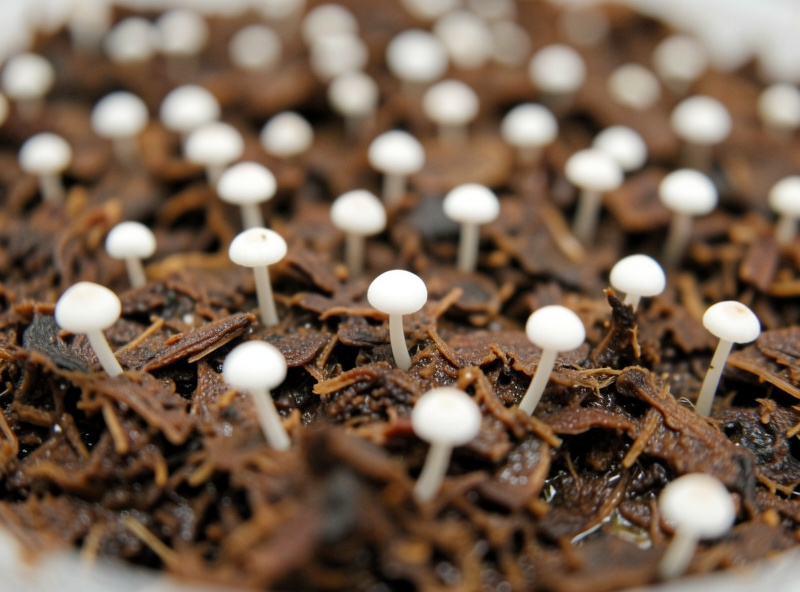
A healthy casing develops fine white mycelial threads creeping up from the substrate into the peat over a few days, eventually flecking the surface with white before pins appear. What you want to see is even, fine colonization — not a solid white mat. If the casing goes fully white and starts to overlay into a tough skin before you shift to fruiting conditions, scratch the surface lightly to break the overlay and trigger pinning, or accept that you waited slightly too long and adjust the timing next batch.
Color and texture tell you what is happening underneath. Green in the casing is Trichoderma and means the casing was too rich, too acidic, or contaminated — that section is lost. A slimy, translucent, off-smelling patch is bacterial, usually from over-watering, and should be removed before it spreads. Dry, cracked, pulling-away casing means it has lost moisture and the pins will abort; rehydrate gently with misting. The casing is a living surface you read and adjust daily, not a set-and-forget step.
Casing Mistakes to Avoid
The most common error is using a nutritious casing — soil, compost, or anything rich — which feeds mold and bacteria and turns the casing into a contamination farm. Keep it lean: peat and lime, or coir and lime, nothing more. The second error is wrong pH; without lime the peat is acidic and favors competitors over your mushrooms, so do not skip it. The third is over-watering, which is the fastest way to introduce bacterial blotch onto a casing surface.
Finally, do not case a species that does not need it. Adding a casing to an oyster tub that would have pinned fine on its own just adds an unnecessary contamination surface and a moisture-management chore. Reserve the casing for where it earns its place — Agaricus, and the occasional gourmet bed that genuinely pins more evenly with one. For everything else, dial in fresh air and humidity instead.
Related Guides
- Monotub and Bulk Growing: The Complete Guide
- Manure Substrate for Button Mushrooms
- Bulk Substrate Prep for Monotubs
- Spawn-to-Bulk Ratio: Getting the Mix Right
- Substrate Moisture and the Field-Capacity Test
Frequently Asked Questions
What is a casing layer in mushroom growing?
A casing layer is a thin, low-nutrient top dressing, usually peat and lime, applied over colonized substrate to hold moisture and trigger even pinning. It is essential for button and portobello mushrooms.
Do I need a casing layer for oyster mushrooms?
No. Oyster, wine cap, lion’s mane, and king oyster pin readily off the colonized surface with the right fresh-air exchange and humidity. A casing just adds an unnecessary contamination surface for these species.
What is the best casing layer recipe?
Sphagnum peat moss mixed with water and enough hydrated lime to reach pH 7.5 to 8.0, then pasteurized. A coir and lime mix is a peat-free alternative. Keep it lean and low-nutrient.
How thick should a casing layer be?
Apply the casing about one inch, roughly 2 to 3 centimeters, deep in an even layer over a fully colonized substrate. Keep it consistently moist with gentle misting until pins form.
Why is my casing layer growing mold?
Usually because the casing was too nutritious or the pH was too low. Use only lean peat or coir with lime to raise pH near 8, pasteurize it, and avoid over-watering, which invites bacterial blotch.