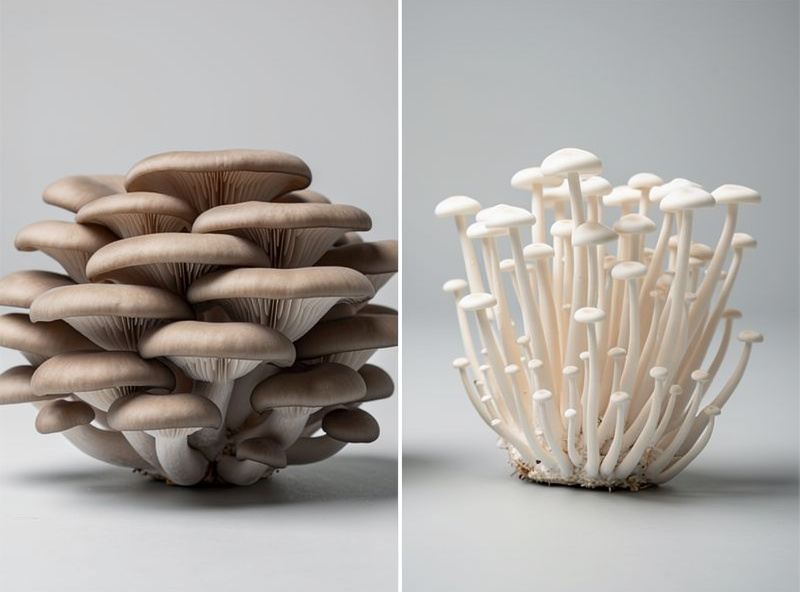
A standard 2.3-kilogram (5-pound) fruiting block yields 450-900 grams of fresh gourmet mushrooms across all flushes, depending on species. Oyster is the highest yielder at 700-900 grams per block; lion’s mane and shiitake land around 400-600 grams; reishi is grown for the conk, not weight. The first flush delivers the bulk, with each later flush dropping to roughly 60-70% of the one before.
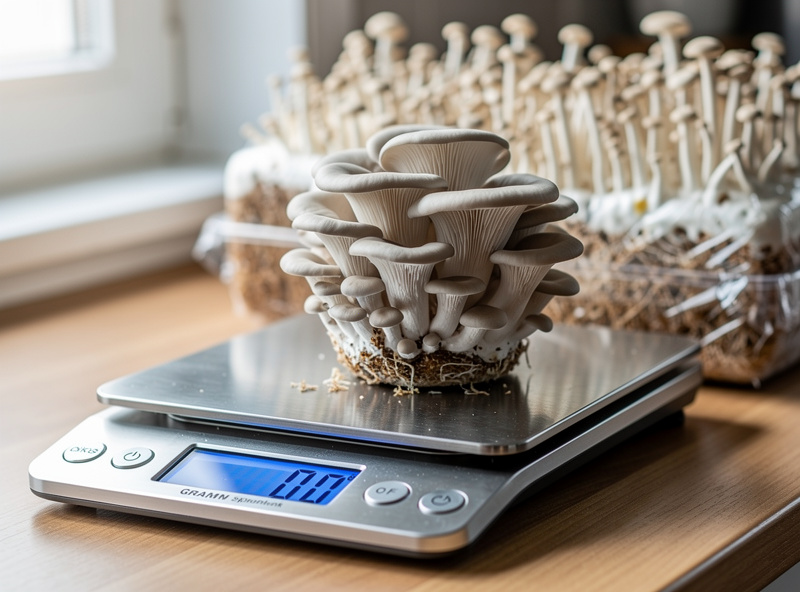
“How much will I actually get?” is the question every new grower asks, and vague answers help nobody. Real yields depend on species, substrate, block size, and how well you manage fruiting — but the ranges are knowable, and I have weighed enough flushes off my own blocks to give you numbers you can plan around. Below I break yields down per species, explain the biological efficiency metric that lets you compare across substrates, and show where beginners lose yield they should have captured.
Disclosure: MycoMansion is reader-supported. As an Amazon Associate I earn from qualifying purchases made through links in this article, at no extra cost to you. I only point to gear I actually use or would buy for my own grow.
What Actually Drives Yield
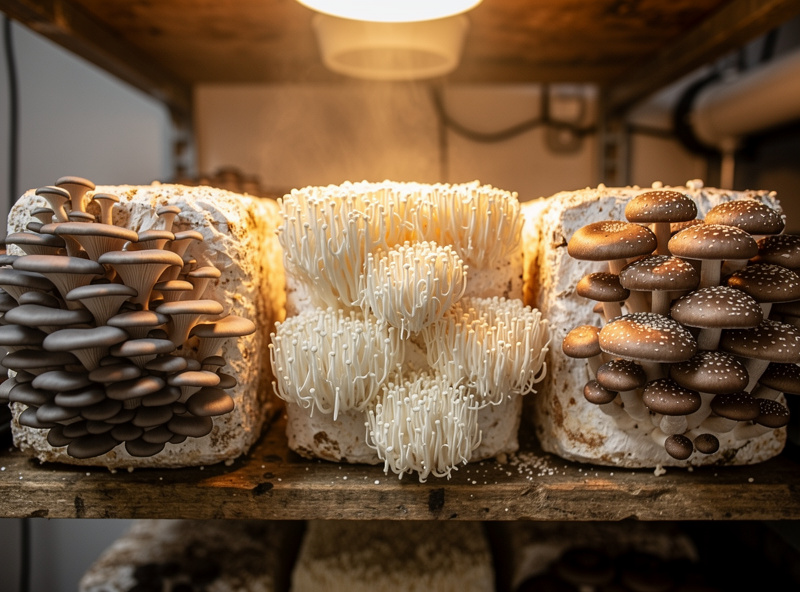
Yield is driven by four factors in order of impact: species (oyster simply produces more biomass than lion’s mane), substrate quality and nutrition (a supplemented sawdust block out-yields plain straw), block size (more substrate means more food for the mycelium), and fruiting management (humidity and fresh air determine how much of the potential you actually capture). Get the first three right and good management converts them into mushrooms on the scale.
The single number that lets you compare across all of these is biological efficiency (BE) — the fresh weight of mushrooms harvested as a percentage of the dry substrate weight. A block with 1 kilogram of dry substrate that yields 1 kilogram of fresh mushrooms has 100% BE. Commercial oyster operations hit 75-150% BE; a home grower realistically lands at 50-100% for oyster and lower for slower species. BE is how you tell whether a disappointing harvest was the species, the substrate, or your technique.
Yield Per Block by Species
The table below gives realistic home-grower yields for a standard 2.3-kilogram (5-pound) fruiting block of each common gourmet species, totalled across all flushes. These are achievable numbers for a careful beginner, not commercial best-cases — I have set them at the conservative end so you are pleasantly surprised rather than disappointed.
| Species | Substrate | First Flush | Total (All Flushes) | Typical BE |
|---|---|---|---|---|
| Pearl oyster | Straw / supplemented sawdust | 400-550 g | 700-900 g | 75-100% |
| King oyster | Supplemented sawdust | 300-450 g | 450-650 g | 50-75% |
| Lion’s mane | Masters Mix sawdust | 250-400 g | 400-600 g | 50-70% |
| Shiitake | Hardwood block | 200-350 g | 400-600 g | 50-75% |
| Chestnut / pioppino | Supplemented sawdust | 200-300 g | 350-500 g | 45-65% |
| Reishi | Supplemented sawdust | One conk | Grown for the conk | Not weight-based |
How Yield Splits Across Flushes
Most growers do not realise how front-loaded yield is: the first flush typically delivers 50-60% of a block’s lifetime total, the second flush 60-70% of the first, and the third flush — if it comes at all — is usually small enough to question whether it is worth the time. A block that gives 500 grams on flush one might give 320 on flush two and 120 on flush three, then call it quits.
This distribution shapes how you should run a block. Push hard for a strong first flush — that is where the yield lives — by triggering pinning cleanly and managing humidity and fresh air well. Soak and re-fruit for the second flush because the return is still good. By the third flush, the contamination risk has risen and the nutrients are nearly exhausted, so most experienced growers retire the block to the compost pile and start fresh. The full re-flush soaking technique is in the beginner guide.
Where Beginners Lose Yield
The three most common yield killers are all management errors, not species limits: fruiting too warm (thin caps and long pale stems instead of dense clusters), poor fresh-air exchange (high CO2 causes leggy, low-mass fruits), and harvesting too late (spore drop smothers the second flush). Each of these can cut a block’s total yield by 30-50% from what the same substrate would have produced under good conditions.
The fix for all three is climate control during fruiting. Oyster wants 18-22°C, 90-95% humidity, and daily fresh air; drift warm or stuffy and you trade dense heavy clusters for airy light ones that weigh a fraction as much. Watching humidity with a reliable digital hygrometer and misting with a fine continuous spray bottle is the cheapest yield upgrade you can make. Substrate nutrition is the other lever — a properly supplemented sawdust block out-yields plain straw, as covered in the substrate guide and the CVG recipe.
Scaling Yield: Block Size and Count
To get more mushrooms, you can grow bigger blocks, more blocks, or higher-yielding species — and for beginners, more blocks beats bigger blocks. A larger block does yield more in absolute terms, but it also takes longer to colonise and presents a bigger loss if it contaminates. Two 2.3-kilogram blocks are more resilient than one 4.6-kilogram block and give you staggered harvests.
A practical home target is a rolling stock of 2-4 oyster blocks at staggered stages, which keeps 400-900 grams of fresh mushrooms coming roughly every couple of weeks — more than enough for a household and the point where preservation becomes your next task. Buying ready-made sterilized grain spawn in bulk lowers your per-block cost as you scale. The species and substrate pairings that maximise yield per dollar are in easiest mushrooms to grow, and the cost side of the equation is in grow kit vs DIY monotub.
Fresh Versus Dried Yield (and Why It Matters)
Fresh mushrooms are roughly 90% water, so a 900-gram fresh harvest dehydrates down to about 80-100 grams of dried product. That sounds brutal until you remember dried gourmet mushrooms rehydrate fully, store for a year, and concentrate flavour — which is exactly why I quote yields fresh for planning but think in dried weight for the pantry. A single productive oyster block puts a respectable jar of dried mushrooms on the shelf.
The fresh-to-dried ratio matters most for the functional species. Reishi is never weighed as a fresh crop at all — you grow it for the antler or conk, harvest it leathery, then dry and slice it for tea, so its “yield” is measured in finished conks rather than grams of flesh. Lion’s mane and shiitake, by contrast, dry beautifully and lose none of their kitchen value, so their lower fresh numbers understate how much usable food a block actually represents. When you plan a year of growing, run the fresh yields through the 10:1 drying ratio and you will see that even modest blocks add up to a well-stocked shelf. The same drying logic underpins the harvest-timing advice in the mushroom life cycle explained, where catching a flush at the right maturity protects both fresh weight and dried quality.
Frequently Asked Questions
How many mushrooms does one block yield?
A standard 2.3-kilogram (5-pound) gourmet fruiting block yields 450-900 grams of fresh mushrooms across all flushes. Pearl oyster is the highest yielder at 700-900 grams; lion’s mane and shiitake land at 400-600 grams. The first flush delivers 50-60 percent of the lifetime total.
What is biological efficiency in mushroom growing?
Biological efficiency (BE) is the fresh weight of mushrooms harvested as a percentage of the dry substrate weight. A kilogram of dry substrate yielding a kilogram of fresh mushrooms equals 100 percent BE. Home oyster grows realistically reach 50-100 percent; slower species sit lower. BE lets you compare yields across substrates.
How much does the second flush yield compared to the first?
The second flush typically yields 60-70 percent of the first flush. A block giving 500 grams on flush one might give around 320 grams on flush two and 120 grams on flush three. Yield is front-loaded, so the first flush is where you should focus your fruiting effort.
Which mushroom gives the highest yield per block?
Pearl oyster gives the highest yield per block, at 700-900 grams total from a standard 2.3-kilogram block, with biological efficiency of 75-100 percent. It is also the fastest and most forgiving species, which is why it is both the highest-yielding and the recommended beginner choice.
Why is my mushroom yield so low?
The three common causes are all management errors: fruiting too warm (thin leggy fruits), poor fresh-air exchange causing high CO2 and low-mass mushrooms, and harvesting too late so spore drop smothers the second flush. Each can cut total yield by 30-50 percent. Fix climate control during fruiting.
Is it better to grow bigger blocks or more blocks?
For beginners, more blocks beats bigger blocks. A larger block yields more in absolute terms but colonises slower and is a bigger loss if it contaminates. Two 2.3-kilogram blocks are more resilient than one 4.6-kilogram block and give staggered harvests for a steadier supply.