
Manure-based substrate is composted horse or cow manure blended with straw and gypsum — the “mushroom compost” that button, cremini, and portobello mushrooms (all Agaricus bisporus) require. Unlike wood-loving gourmets, Agaricus will not fruit on sawdust or plain straw; it needs nitrogen-rich composted manure and a casing layer to pin.
I will be straight about this one: button and portobello are the single edible I run completely differently from everything else on my bench. The oyster, lion’s mane, and shiitake I grow are wood-lovers that take sawdust, straw, or supplemented blocks. Agaricus is a secondary-decomposer that evolved on rotting dung and grassland thatch, so it wants a fully composted, conditioned manure substrate — a genuinely different process built around two-phase composting and a casing layer. I built a small manure-compost bed end to end to understand it, and this guide walks through exactly how that substrate is made, why each phase matters, and where home growers go wrong.
Why Agaricus Needs Manure, Not Wood
Agaricus bisporus is a secondary decomposer that feeds on already-composted organic matter rich in nitrogen, not raw wood lignin. Composted manure delivers the high nitrogen, the resident microflora, and the finished carbon-to-nitrogen ratio near 17:1 that button mushroom mycelium needs. Sawdust and plain straw simply do not feed it.
This is the conceptual jump that catches out growers coming from oyster cultivation. Wood-lovers are primary decomposers — they break down fresh lignin and cellulose, which is why they take a sterilized sawdust block or pasteurized straw. Agaricus arrives second in nature, after bacteria and other fungi have already pre-digested the material into compost. So the substrate is not just a feedstock, it is a living, microbially-active compost. Get that compost right and button mushrooms are reliable and heavy-yielding; get it wrong and they never colonize. The full per-species substrate logic for the wood-lovers is in the parent mushroom substrate guide.
What Goes Into Mushroom Compost
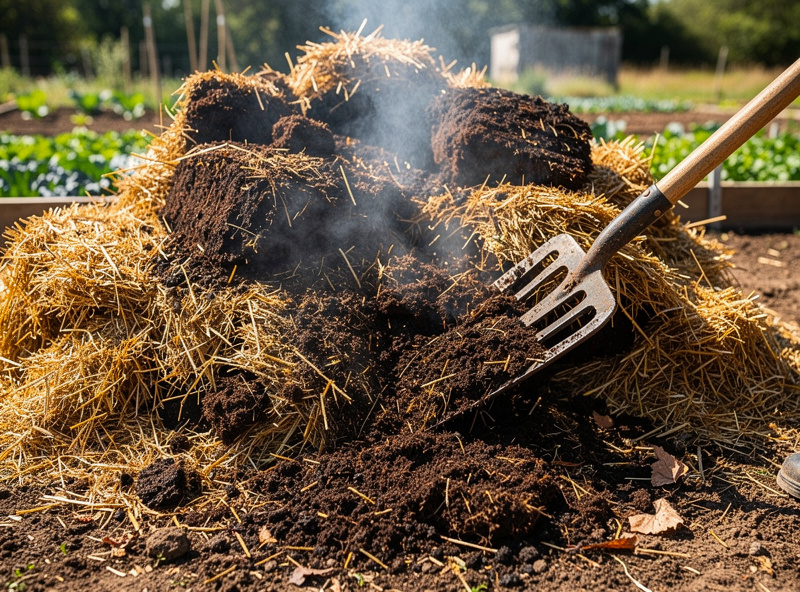
The classic recipe is horse manure with straw bedding, supplemented with gypsum at roughly 1-2 percent and often a nitrogen booster like poultry manure or used coffee grounds. Cow manure works too. Gypsum is non-negotiable here — it keeps the compost from turning greasy and stops it packing into an airless, anaerobic mass.
Horse manure mixed with wheat-straw bedding is the traditional base because it arrives already blended with the carbon source the compost needs. If you start from cleaner straw, you add the manure as the nitrogen and microbial inoculant. Gypsum (calcium sulphate) at 1-2 percent of the pile does three jobs: it supplies calcium, buffers pH, and crucially flocculates the compost so it stays crumbly and aerated rather than slick and sticky. A handful of poultry manure or spent coffee grounds raises the starting nitrogen, which drives a hotter, faster Phase I. Avoid manure from animals recently treated with worming chemicals, which can carry residues that suppress fungal growth.
Phase I: Hot Composting
Phase I is outdoor hot composting: build the manure and straw into a pile, wet it, and turn it every few days as it heats to 60-70 C internally. Over one to two weeks the thermophilic activity breaks down the straw, kills weed seeds, and begins forming true compost. Expect a strong ammonia smell — that is the process working.
I build the pile at least a cubic metre so it holds heat, soak it thoroughly, and let the microbes go to work. A compost thermometer pushed into the core should read 60-70 C within a couple of days. I turn the pile every two to three days to bring the cooler outside material into the hot centre and to re-aerate it, re-wetting as needed — the pile should stay damp like a wrung sponge, never soggy. The ammonia smell is intense at this stage because protein in the manure is breaking down. Phase I runs roughly 7 to 14 days, finishing when the straw has darkened and softened and the pile has a uniform, composted texture.
Phase II: Pasteurize and Condition
Phase II moves the compost into a controlled space to pasteurize and then condition it: hold the compost at about 60 C for two hours to pasteurize, then drop to 45-50 C for several days to drive off all ammonia and let beneficial actinomycetes establish. The substrate is not ready until the ammonia is completely gone.
This is the make-or-break phase. The two-hour pasteurization at 60 C kills pests, weed mold, and any remaining pathogens. Then the long conditioning hold at 45-50 C is where actinomycetes — the white, heat-loving microbes that give finished compost its sweet, earthy smell — colonize the substrate and consume the residual ammonia. Free ammonia is lethal to Agaricus mycelium, so you cannot spawn until it is essentially gone — Penn State Extension’s own commercial-substrate guidance puts the finished target under 0.1 ppm, well below what a home grower can test for without lab equipment. Practically, that means you go by nose: press your face to the compost and it should smell only sweet earth, no sharp ammonia bite. Conditioning typically takes 4 to 7 days. The pasteurize-then-hold logic mirrors how I treat bulk substrates generally, covered in my straw pasteurization guide.
| Stage | Temperature | Duration | Purpose |
|---|---|---|---|
| Phase I composting | 60-70 C core | 7-14 days | Break down straw, form compost, kill seeds |
| Phase II pasteurization | ~60 C | 2 hours | Kill pests, weed molds, pathogens |
| Phase II conditioning | 45-50 C | 4-7 days | Drive off ammonia, grow actinomycetes |
| Spawn run | 24-25 C | 14-21 days | Mycelium colonizes the compost |
| Casing | 22-24 C | 7-10 days | Casing layer colonizes, triggers pinning |
| Fruiting | 16-18 C | Flushes every 7-10 days | Mushrooms pin and mature |
Spawning and the Spawn Run
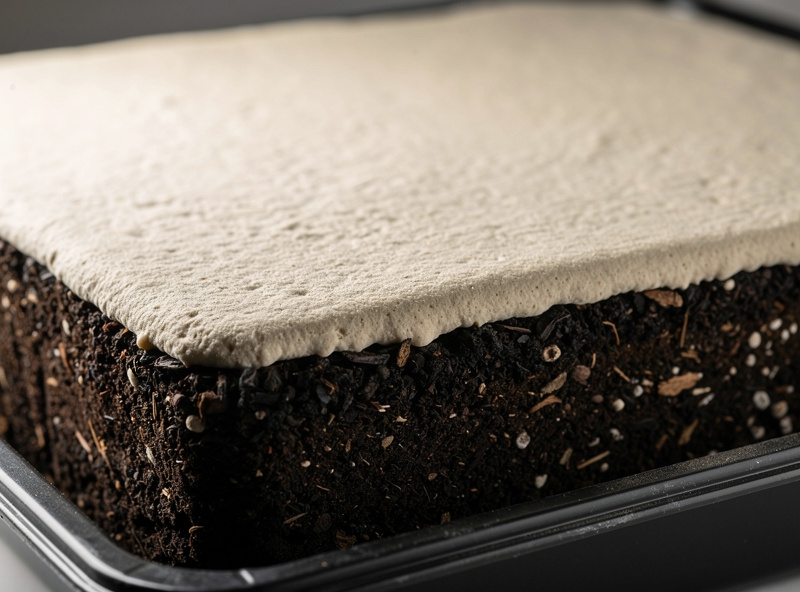
Once the compost has cooled to 24-25 C and the ammonia is gone, mix in grain spawn at roughly 1-2 percent of compost weight, then hold it dark and humid for two to three weeks while the mycelium colonizes. Button compost is run fully through before casing, never fruited bare.
I spread the conditioned compost 15-20 cm deep in trays or a bed, fork the grain spawn evenly through it, lightly firm the surface, and cover to retain moisture. At 24-25 C the white mycelium runs through the bed in 14 to 21 days. The compost should smell mushroomy and sweet; any sour or ammonia note means the conditioning was incomplete and the run will struggle. Unlike a wood-loving block that pins as soon as it is colonized and gets fresh air, a fully run Agaricus bed does nothing on its own — it sits there white and dormant until you give it the one thing it is waiting for.
The Casing Layer: Why Button Mushrooms Need It
Agaricus will not pin without a casing layer — a 4-5 cm topping of peat moss mixed with garden or hydrated lime laid over the fully colonized compost. The casing holds moisture and carries the microflora that trigger primordia. No casing, no buttons; this is the step that separates manure mushrooms from every wood-lover I grow. The mushroom casing layer guide covers the materials — peat-lime, coir-vermiculite, and spent coffee — and the moisture and depth that produce even pin sets versus patchy or delayed fruiting.
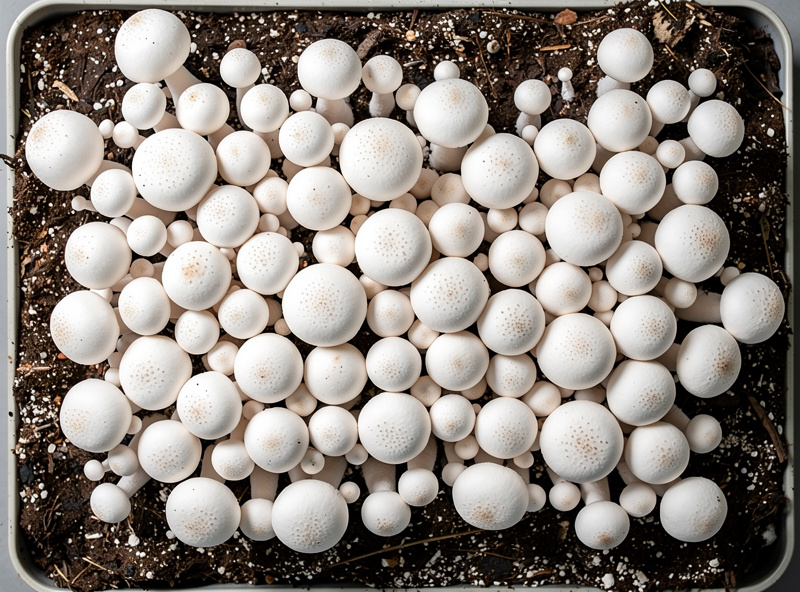
The classic casing is sphagnum peat moss adjusted to roughly pH 7-7.5 with hydrated lime, sometimes cut with coco coir. I lay it 4-5 cm thick over the white compost, keep it evenly moist with light misting, and hold 22-24 C for 7-10 days while mycelium grows up into the casing. Then I drop the temperature to 16-18 C and increase fresh-air exchange — that combined trigger is what tells the mushroom to form pins. The casing’s job is twofold: it is a moisture reservoir the developing mushrooms draw from, and it hosts specific bacteria that switch the mycelium from vegetative growth to fruiting. From there, button mushrooms flush in “breaks” every 7-10 days, and a well-made bed gives three or four breaks. The fresh-air-versus-humidity balance at fruiting is the same dance I describe for the gourmets in my lion’s mane parameters.
What I use for manure-compost beds. A few links below go to Amazon. As an Amazon Associate I earn from qualifying purchases, at no extra cost to you — see my disclaimer. The gear that earned its place: composted manure and straw for the compost, gypsum to keep it crumbly, sphagnum peat moss with garden lime for the casing, and a compost thermometer to read Phase I pile temps.
Is Manure Composting Worth It at Home?
For a home grower, composting your own button substrate is the most labor-intensive route in mushroom cultivation. Many people skip Phase I entirely by buying pre-composted, conditioned substrate or a button kit. I think the full process is worth doing once to understand it, then deciding honestly whether it fits your space and patience.
The reality check: a proper Phase I pile needs outdoor space, smells strongly of ammonia for two weeks, and the whole sequence from compost to harvest runs six to ten weeks. Compare that to oyster on straw, which goes from bale to harvest in three to four weeks with almost no equipment. If you want button and portobello specifically, there is no shortcut around composted manure — but you can let someone else do Phase I. Pre-made mushroom compost and ready-to-case substrate are widely sold, and for most home growers that is the sane middle path. If your interest is volume and simplicity rather than this specific species, the wood-lovers in my Masters Mix and CVG guides are a far easier place to put your effort.
Frequently Asked Questions
What substrate do button and portobello mushrooms grow on?
Composted manure substrate — horse or cow manure blended with straw and gypsum, then composted and conditioned into nitrogen-rich mushroom compost. Button, cremini, and portobello are all Agaricus bisporus and need this composted substrate plus a casing layer; they will not fruit on plain sawdust or straw.
Why does mushroom compost need two phases?
Phase I hot-composts the manure and straw at 60-70 C to break down the straw and form compost. Phase II pasteurizes at 60 C then conditions at 45-50 C to drive off ammonia and grow beneficial actinomycetes. Both phases are needed to turn raw manure into a safe, ammonia-free substrate.
Why does manure substrate need a casing layer?
Agaricus mushrooms will not pin without a casing layer of peat and lime laid over the colonized compost. The casing holds moisture the mushrooms draw from and carries microflora that trigger fruiting. A bare compost bed stays vegetative; the casing plus a temperature drop is what starts pins.
How do you know when mushroom compost is ready to spawn?
When the ammonia is essentially gone. Free ammonia is lethal to Agaricus mycelium; Penn State Extension’s own commercial guidance puts the finished target under 0.1 ppm, far below what a home grower can measure without lab gear, so in practice you go by smell – only sweet and earthy, no sharp ammonia bite. It should also have cooled to 24-25 C before you mix in spawn.
Can you use fresh manure for mushroom substrate?
No. Fresh manure is too high in ammonia and raw nitrogen and will kill the mycelium. It must be fully composted through Phase I and then conditioned in Phase II to consume the ammonia and develop the right microflora. Only finished, ammonia-free mushroom compost works.
How much gypsum goes into mushroom compost?
Roughly 1-2 percent of the compost by weight. Gypsum supplies calcium, buffers pH, and flocculates the compost so it stays crumbly and aerated instead of greasy and packed. A sticky, anaerobic compost smothers the mycelium, which is exactly what gypsum prevents.