
Grain spawn preparation is the hydrate-and-load stage that decides whether your jars colonize clean or drown in bacteria: rinse the grain, cook or soak it to field capacity, drain it hard until no free water pools, and load wide-mouth jars about two-thirds full before they ever see the canner. Get the moisture right here and the rest of the grow follows.
Rye and millet are the two grains I reach for most, and they behave differently enough on the bench that the prep is not identical. This guide covers everything up to the moment the lids go on — grain choice, hydration, the simmer-versus-soak question, the field-capacity test, and jar loading. The actual kill step is its own job: once your jars are loaded, follow my grain spawn sterilization guide for canner times and PSI. This piece is one spoke of the larger grain spawn and culture lab guide, where the whole sterile chain fits together.
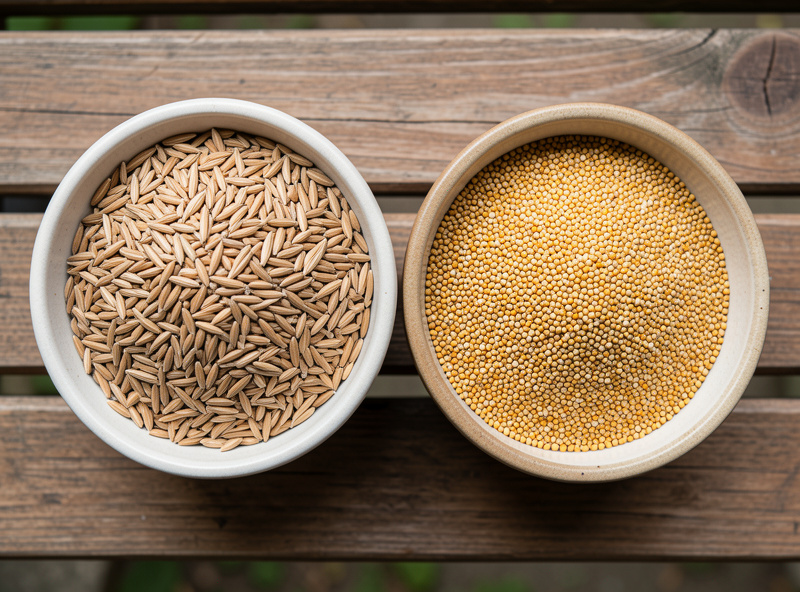
Rye versus millet: which to prep
Rye is the forgiving all-rounder — large kernels that hydrate predictably, resist clumping, and shake apart cleanly, which is why I default to it for spawn that will inoculate bulk. Millet is the opposite trade: tiny seeds that pack far more kernels into a jar for more inoculation points and faster colonization, but they overhydrate in a heartbeat and turn to mush if you are careless.
The decision comes down to what the spawn is for. If I am making grain to break straight into a tub of substrate, rye’s forgiveness wins. If I am making spawn to expand through grain-to-grain transfer, millet’s sheer kernel count gives more growth fronts per jar and a faster, more even colonize. Wheat berries and whole oats both work too and prep almost exactly like rye, so everything below applies to them with a slightly closer eye on moisture.
| Prep variable | Rye berries | Millet |
|---|---|---|
| Soak time | 12-24 hours (optional if simmering) | Skip or keep very short |
| Simmer time | 15-20 minutes | 10-15 minutes, watch closely |
| Overhydration risk | Low | High |
| Kernels per quart | Moderate | Very high |
| Best for | Inoculating bulk substrate | G2G expansion, fast colonize |
Rinse first, always
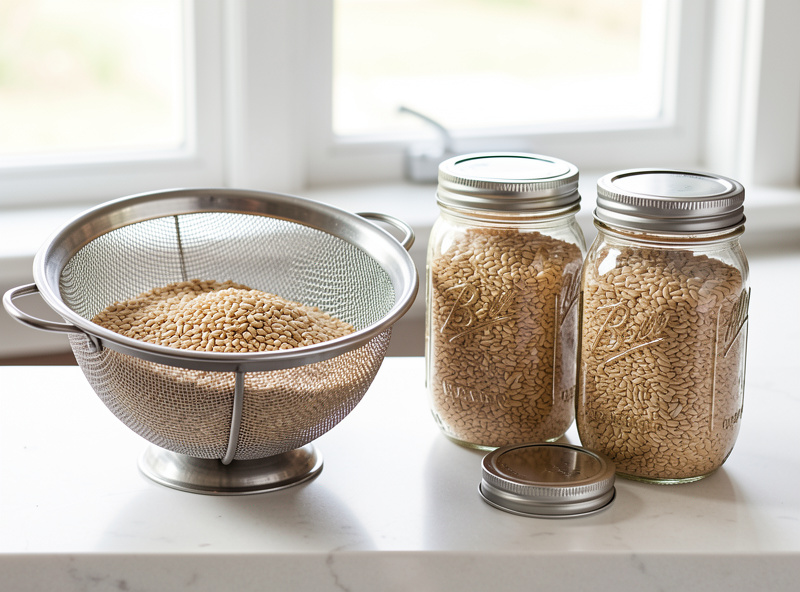
Before any water goes on to stay, rinse the grain in a colander under running water until it runs clear, which washes off field dust, loose starch, and surface debris that would otherwise feed bacteria during the long warm soak. A minute of rinsing is the cheapest contamination insurance in the whole process and the step beginners skip most often.
Cloudy rinse water is starch and grime, and starch left clinging to the grain is exactly what bacteria want. I rinse, swirl, dump, and repeat until the water coming off is close to clear. With millet especially, rinse gently — those small seeds slip through a coarse colander, so I use a fine mesh.
Soak versus simmer to field capacity
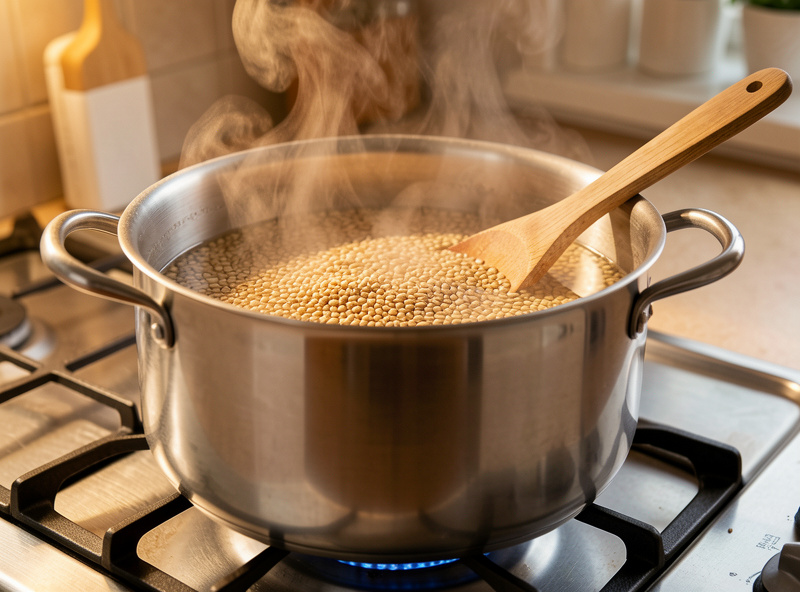
You can hydrate grain by a long cold soak followed by a short boil, or by simmering it directly until cooked through but not split — both routes aim at the same target, which is grain fully hydrated to the core with no dry center. I simmer most of the time because it is faster and more controllable: rye gets 15-20 minutes at a gentle boil, millet 10-15 with a close watch, until a test kernel squashes soft between two fingers with no hard chalky middle.
The failure mode to fear is split, blown-out kernels with their starchy insides exposed — that is overcooked, and exposed starch is bacteria food. Pull the pot the moment kernels are cooked through but still whole. The classic soak-then-boil method (12-24 hours cold, then a brief boil) hydrates a bit more evenly and some growers swear by it for rye, but it is slower and the soak water itself can sour in a warm room. Either way, the next step is the one that actually matters.
Drain hard — the field-capacity test
Field capacity is grain hydrated all the way through with zero free water clinging to the surface, and hitting it is the single biggest predictor of a clean grain run. Drain the cooked grain in a colander, then spread it on a clean towel or tray and let surface moisture evaporate for 30-60 minutes, turning it once, until the kernels look matte-damp rather than wet and glistening.
The test I use: grab a handful and squeeze. No water should run between your fingers. Tip a loaded jar after filling and you should see no water pooling at the bottom — that pooled water is the number-one cause of bacterial grain failure, because it is a standing reservoir for wet-spot bacteria. Rye is forgiving here; millet is not, so I drain millet longer and more aggressively. The same field-capacity logic that governs bulk substrate moisture is in play, just with cereal grain instead of coir.
Loading and prepping the jars
Use wide-mouth quart or pint mason jars, filled no more than about two-thirds, because the headspace is the air exchange the mycelium breathes during colonization and the room you need to shake the jar later. Pack jars over-full and you choke the grow and leave nowhere for the grain to redistribute when you break and shake.
The lid is the other half. A solid metal lid needs to be modified for gas exchange and inoculation — the standard approach is a small filter patch (a square of micropore tape or a synthetic filter disc) for breathing, and a dab of RTV silicone or a self-healing injection port if you plan to inject liquid culture or a spore syringe through it. I run modified lids with both a micropore breather and a silicone injection port so the same jar works whether I am injecting liquid culture or transferring from agar. Wipe the jar rims clean before the lids go on so nothing organic is trapped under the seal.
After sterilization: the break-and-shake
Once jars are loaded and lidded they go to the canner, and after they have been sterilized and cooled completely they get inoculated and then, a little later, shaken. Never shake a freshly inoculated jar — wait until the mycelium has a confident foothold, roughly 20-30% colonized, then shake firmly to distribute that vigorous growth evenly through the grain for a faster, more uniform finish.
Shake too early and you smear a fragile young network around with nothing to show for it; shake a jar you suspect is contaminated and you have just distributed the problem through every kernel. I also let jars cool fully before inoculating — opening a warm jar pulls non-sterile room air in as it contracts, and warm grain is a welcome mat for whatever floats in. Do the inoculation inside a still-air box or in front of a flow hood; if you are deciding which you need, my still air box vs flow hood guide breaks it down, and the broader sterile technique guide covers the habits that keep all of this clean.
Frequently Asked Questions
Should I soak grain before cooking it?
You can, but it is optional if you simmer. A 12-24 hour cold soak hydrates rye a little more evenly, but simmering for 15-20 minutes reaches the same field-capacity target faster and with less risk of the soak water souring in a warm room. Millet barely needs a soak at all.
How do I know if my grain is at field capacity?
Squeeze a handful: no water should run between your fingers, but the kernels should look matte-damp rather than dry. After loading a jar, tip it and check for pooled water at the bottom. Any standing water means it is too wet and likely to breed bacteria during colonization.
Why is my grain spawn too wet at the bottom of the jar?
You did not drain long enough before loading. Cooked grain holds surface water that drains out and pools once jarred. Spread drained grain on a towel for 30-60 minutes to let surface moisture evaporate, then load. Pooled water is the leading cause of bacterial grain failure.
Can I use rice or pasta instead of rye or millet?
Stick to whole cereal grains like rye, millet, wheat berries, or oats. They hold their shape, resist clumping, and carry the right nutrition. Rice and pasta turn gummy and clump into a solid mass that the mycelium cannot fully colonize, and they spoil faster if hydration is off.
When should I shake a colonizing grain jar?
Wait until the mycelium is roughly 20-30 percent colonized and clearly vigorous, then shake firmly to distribute it evenly. Shaking earlier smears a fragile young network with little benefit, and you should never shake a jar you suspect is contaminated because it spreads the problem through all the grain.