
Straw pasteurization heats or chemically treats chopped straw to 65-75 C (or pH 12-13 with lime) to kill competing molds while sparing the beneficial bacteria that protect your oyster spawn. Done right, a 25 kg bale of wheat straw hydrates out to roughly 60-90 kg of finished substrate at field capacity (dry straw runs to roughly 60-70 percent moisture once soaked, so the water itself accounts for most of that gain), and the raw ingredient cost stays low.
Straw is the substrate that turns oyster cultivation into a near-free hobby, and pasteurization, not sterilization, is the operative word. Straw is low in nitrogen, so it does not need the full pressure-cooked sterilization that a supplemented block demands. Instead you knock back the contaminants just enough to give the mushroom mycelium a head start, while leaving a population of beneficial thermophilic bacteria behind to crowd out latecomers. There are four methods I run depending on batch size, season, and how much I feel like babysitting a thermometer — this is real, funded comparison ground too, not just forum lore: a SARE farmer-research grant (FNE15-825, Fungi Ally) ran hot-water, lime-soak, and cold-fermentation straw prep head-to-head across six oyster strains specifically to find out which held up best, which is the same practical question this guide answers from my own bench. This guide covers all four methods I use, the exact temperatures and times for each, and how to prep the straw so any of them works.
Why Straw Is Pasteurized, Not Sterilized
Straw carries little nitrogen, so it is not the contamination magnet that high-protein blocks are. Pasteurization at 65-75 C selectively kills molds and weed fungi while preserving heat-tolerant beneficial bacteria, which then compete against any contaminant that lands later. Sterilizing straw is overkill and actually less robust.
This is the key insight beginners miss. A fully sterilized substrate is a blank slate — wonderful for your mushroom if nothing else gets in, but utterly defenseless the moment a single mold spore lands, because there is no competing biology left to fight it. Pasteurized straw keeps a living community of thermophilic bacteria that acts like a standing army. That is why oyster growers can get away with open-air work on straw that would doom a sterilized grain jar. The temperature window matters precisely for this reason: above 80 C you cook off the protective bacteria along with the contaminants and lose the biological buffer; below 60 C the molds survive and you have wasted your afternoon. The 65-75 C band is the sweet spot, and the difference between pasteurizing and sterilizing across all substrates is laid out in the parent mushroom substrate guide.
Prepping Straw Before Any Method
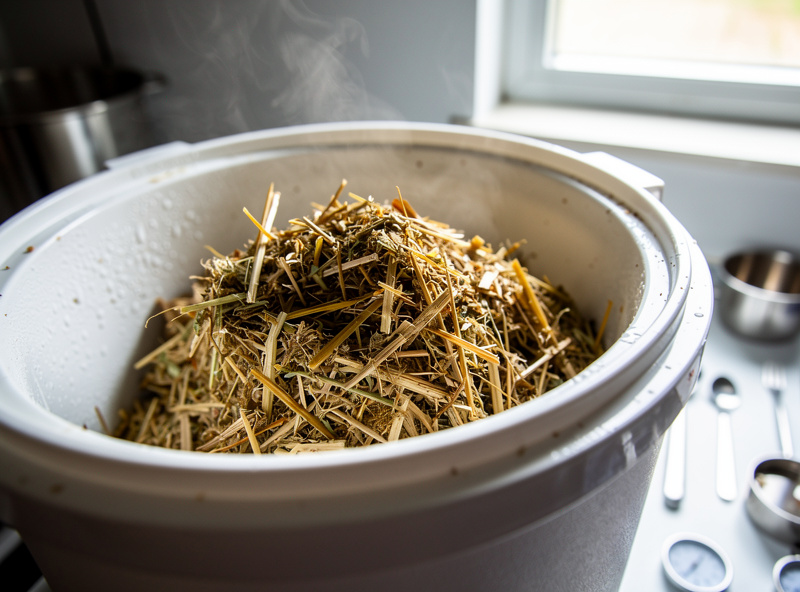
Every method starts the same way: chop the straw to 5-10 cm lengths so it packs densely and colonizes evenly, then hydrate it fully. Long, loose straw traps air pockets that mold loves and mycelium skips. Chopping is the single biggest upgrade most beginners can make.
I chop with garden shears straight into a tub, or run a bale through a chipper-shredder for big batches. Wheat straw is my default — clean, hollow-stemmed, and cheap from any farm-supply or horse-bedding source (I have not tried to pin an exact dollar figure here, since bale prices swing with season and region, but it is consistently the cheapest bulk substrate ingredient I buy). Oat straw works equally well; avoid hay, which is leafy, nitrogen-rich, and ferments into a contaminated mess. Whatever method follows, the straw finishes at field capacity: after draining, a hard squeeze releases two or three drops of water, not a stream. That moisture target is universal across substrates, and the full squeeze-test detail is in my substrate moisture guide.
Method 1: Hot-Water Bath (Cooler Tek)
The hot-water cooler method is my everyday go-to: pack chopped straw into a 60-litre insulated cooler, fill with 70 C water, lid down, and hold for 90 minutes. The cooler’s insulation holds the 65-75 C band without any heat source, which is what makes it so reliable.
The routine is simple. I heat water in a kettle and stockpot to about 75 C, pack the cooler two-thirds full with chopped straw, pour the hot water over until the straw is submerged, weight it down with a plate so nothing floats, close the lid, and walk away for 90 minutes. The mass of hot water plus the insulation keeps the straw comfortably in range the whole time. Then I drain it through a mesh laundry bag, let it cool to 25 C, squeeze to field capacity, and it is ready to layer with spawn the moment it is cool enough to hold. Total time including the chop is under three hours. For a single tub I sometimes scale this down to a five-gallon bucket inside a larger cooler.
Method 2: Cold Lime Pasteurization
Cold lime pasteurization skips heat entirely: soak chopped straw in water dosed with hydrated lime to pH 12-13 for 12 to 24 hours. The high alkalinity, not temperature, suppresses competitors. It is the method I reach for in summer or for batches too big to heat.
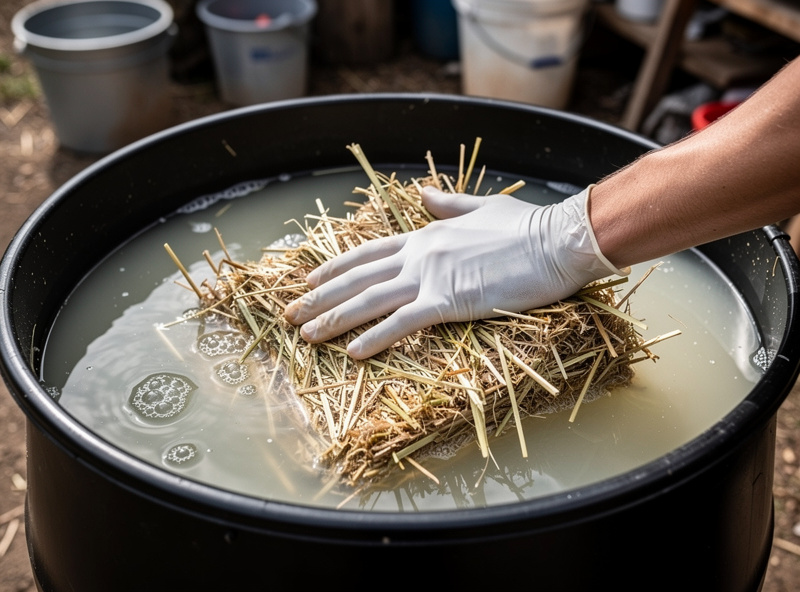
On my bench I run about 5 grams of hydrated lime (calcium hydroxide, sold as pickling or builder’s lime) per litre of water, which lifts the pH into the 12-13 range I am after — published guides vary here, with GroCycle’s own dosing guide citing anywhere from about 2 grams per litre for a general pH-11-to-13 target up to their own farm’s 1.75 grams per litre for a stronger pH 13-14 soak, so dose to the pH you actually measure rather than trust one fixed gram figure — lime purity and your water’s own alkalinity both shift the number. I submerge the chopped straw fully in a barrel or tub, weight it under the surface, and leave it 12 to 24 hours (GroCycle recommends 16 to 20 hours as their working range, which sits comfortably inside that window). The caustic environment kills mold spores and weed fungi without any fuel or thermometer. After soaking I drain thoroughly and let it sit an hour so the surface pH equilibrates back toward neutral as it contacts air; oyster mycelium tolerates the residual alkalinity fine. Wear gloves and eye protection — lime water is genuinely caustic. The big advantage is scale and zero energy cost; the disadvantage is the 12-to-24-hour wait and handling a corrosive chemical.
Method 3: Cold-Water Fermentation
Cold-water fermentation submerges chopped straw under water for 5 to 7 days with no heat and no chemicals. Anaerobic bacteria and a dropping pH knock back mold competitors. It is the lowest-tech method but the smelliest, and timing is less forgiving.
I fill a sealed drum with chopped straw, top it with water until everything is submerged, weight it down, and lid it loosely. Over five to seven days the water goes anaerobic and sour as bacteria multiply and the pH falls, creating an environment hostile to mold. It genuinely works and costs nothing but time and a barrel, which is why off-grid and large-scale growers like it. The downsides are real: it stinks like a silage pit, the window is wider and harder to call than a timed hot soak, and warm weather can push it toward outright rot if you leave it too long. I use it only when I have neither a heat source nor lime on hand.
Method 4: Steam Pasteurization
Steam pasteurization holds bagged straw in a steam-filled chamber until the substrate core reaches 65-75 C, then maintains it for 60 to 90 minutes. It uses far less water than a hot-water bath and suits growers working out of bags rather than coolers.
I load pre-hydrated straw into filter-patch bags, stand them in a large stockpot or barrel over a few inches of simmering water on a rack, and let steam circulate with the lid on. A probe thermometer pushed into the centre of a bag tells me when the core hits 65 C, and I hold from there. Steam is gentler to monitor than a giant water bath and lets me pasteurize the exact bags I will inoculate, but it needs a heat source running for the full hold and a chamber big enough to circulate steam around every bag. For mixed substrates like a coffee-and-straw blend, steam keeps the mess contained — see how that pairing performs in my notes on oyster mushrooms on garden waste and coffee grounds.
Comparing the Four Straw Methods
Each method lands the straw in a safe-to-inoculate state, but they trade speed, energy, gear, and odor very differently. Here is how I weigh them when deciding which to run for a given batch.
| Method | Treatment | Time | Gear needed | Best for | Drawback |
|---|---|---|---|---|---|
| Hot-water bath (cooler) | 65-75 C soak | 90 min | Insulated cooler, hot water | Everyday small-to-mid batches | Heating lots of water |
| Cold lime | pH 12-13 soak | 12-24 h | Barrel, hydrated lime | Big batches, hot weather | Caustic, long wait |
| Cold fermentation | Anaerobic submersion | 5-7 days | Sealed drum, water | Off-grid, zero energy | Smelly, wide window |
| Steam | 65-75 C core | 60-90 min | Steamer, probe thermometer | Bag-based growing | Heat source whole hold |
| Straw pellets (boiling pour) | Hydrate with boiling water | Cools overnight | Bucket, kettle | Apartment, no chopping | Costlier per kilo |
The fifth row is worth flagging: compressed straw pellets need no chopping and pasteurize by simply hydrating with boiling water in a sealed bucket and letting them cool overnight — the heat of the water plus the sealed cooldown does the job. They cost more per kilo but are the cleanest option for an apartment grower with no space to chop bales.
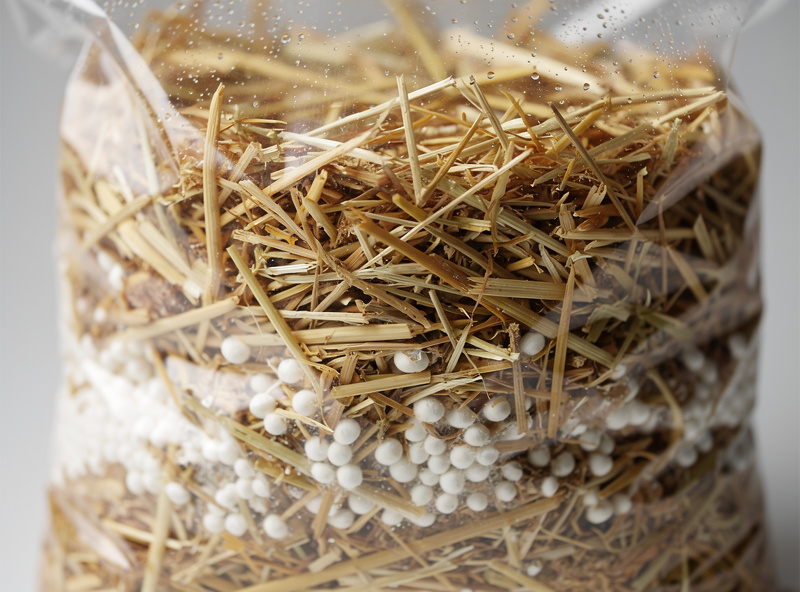
Gear I use to pasteurize straw. A few links below go to Amazon. As an Amazon Associate I earn from qualifying purchases, at no extra cost to you — see my disclaimer. The kit that actually lives on my bench: wheat straw or straw pellets for the substrate, hydrated pickling lime for the cold method, a digital probe thermometer to hold the band, and filter-patch grow bags for the finished substrate.
After Pasteurizing: Cooling and Spawning
Whatever method you use, the straw must cool to 25 C and drain to field capacity before it touches spawn. Inoculating hot straw kills your mycelium; inoculating waterlogged straw drowns it. Both mistakes are common and both are easy to avoid.
I drain pasteurized straw in a mesh laundry bag, give it a firm squeeze to shed excess water, and let it cool covered to room temperature — never inoculate above 30 C. Then I layer it with grain or sawdust spawn at roughly a 10 to 20 percent spawn rate, working as cleanly as I can to avoid recontaminating the cooled substrate. From there it colonizes in a dark, room-temperature spot for one to two weeks before fruiting. If colonization stalls or off-colors appear, the diagnostic patterns are in my contamination guide, and the richer indoor block alternative to straw is my Masters Mix recipe.
Frequently Asked Questions
What temperature do you pasteurize straw at?
Pasteurize straw at 65-75 C and hold for about 90 minutes. Above 80 C you kill the beneficial thermophilic bacteria that protect the substrate; below 60 C contaminating molds survive. The 65-75 C band selectively knocks back competitors while leaving a protective bacterial population.
Do you need to pasteurize straw for oyster mushrooms?
Yes. Untreated straw carries mold spores and weed fungi that out-compete oyster mycelium. Pasteurization at 65-75 C, cold lime at pH 12-13, or cold fermentation all knock those competitors back enough for spawn to colonize first. Straw is low in nitrogen, so it does not need full sterilization.
Can you pasteurize straw without heat?
Yes, with cold lime or cold fermentation. Cold lime soaks chopped straw at pH 12-13 (about 5 grams hydrated lime per litre) for 12-24 hours. Cold fermentation submerges straw underwater for 5-7 days until it turns anaerobic. Both suppress mold without any heat source.
How much lime do you use to pasteurize straw?
About 5 grams of hydrated lime (calcium hydroxide) per litre of water, which raises the pH to roughly 12-13. Submerge chopped straw fully for 12 to 24 hours, then drain. Wear gloves and eye protection, because lime water is caustic until it is rinsed and equilibrated.
How wet should pasteurized straw be?
Drain it to field capacity: a hard squeeze of a handful should release only two or three drops of water, not a stream. Waterlogged straw pools at the bottom of the bag and drowns the mycelium; too-dry straw colonizes slowly and unevenly. Two or three drops is the target.
Can you reuse the pasteurization water?
Hot-water and steam water can be reheated and reused for a second batch the same day, but it accumulates debris and loses heat fast, so I usually start fresh. Lime water can be reused once or twice if the pH still tests above 12, then it is spent and should be neutralized before disposal.